



Gladioli are among the most spectacular summer-flowering plants, admired for their tall stems and colorful blooms. However, unlike many spring bulbs, most gladiolus varieties are not fully winter-hardy and require special care before cold weather arrives. Proper lifting and storage are essential for preserving healthy planting material and ensuring abundant flowering the following year.
Learning how to lift and store gladioli bulbs before winter helps protect the corms from frost, rot and disease. With the right techniques, gardeners can successfully reuse the same plants for many seasons. Our gardening blog is a perfect place to find all the information you need!
Why Gladioli Need to Be Lifted Before Winter
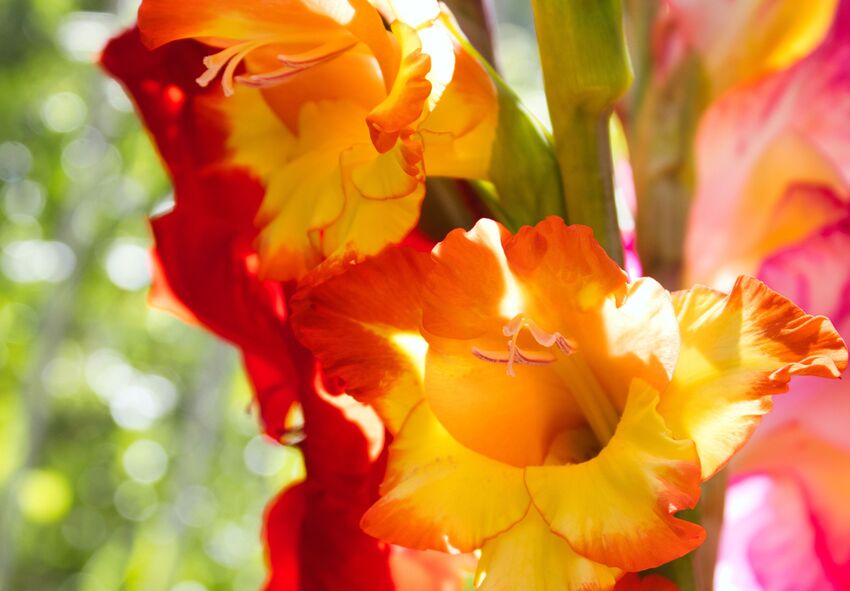
Most gladioli originate from regions with mild winters and cannot tolerate prolonged freezing temperatures. In areas where the ground freezes deeply, leaving the corms in the soil may result in serious damage or complete loss.
Lifting the corms also allows gardeners to inspect them for diseases and pests before storage. This process helps preserve only the healthiest planting material for the next growing season.
What Happens If Gladioli Remain in the Ground
If gladioli are left outdoors during harsh winters, frost can destroy the tissues inside the corms. Excess moisture may also encourage fungal diseases and rot. Even in regions with relatively mild winters, prolonged exposure to cold and wet soil often weakens the plants and reduces flowering performance the following year.
When to Lift Gladioli Bulbs
Timing is one of the most important factors in successful gladioli bulbs storage. Digging the corms too early may prevent them from storing enough energy, while waiting too long increases the risk of frost damage.
The Best Time After Flowering
Gladioli should usually be lifted four to six weeks after flowering has finished. During this period, the leaves continue to photosynthesize and transfer nutrients back into the corm. Waiting until the foliage begins to yellow naturally allows the plant to complete its growth cycle and prepare for dormancy.
How Frost Affects Gladiolus Corms
Light frosts may damage the leaves, but severe frosts can penetrate the soil and injure the corms themselves. Gardeners should aim to dig up gladioli before prolonged freezing temperatures arrive. In colder climates, it is often safer to lift the corms as soon as nighttime temperatures begin approaching freezing.
Signs That Gladioli Are Ready to Be Dug Up
Yellowing leaves, dry stems and fading flowers are all signs that gladioli are entering dormancy. The corms should feel firm and fully developed beneath the soil. If the foliage is still bright green and actively growing, it is usually better to wait a little longer before lifting the plants.
How to Lift Gladioli Correctly
Careful digging minimizes damage and improves the chances of successful storage. Gladiolus corms can be bruised easily, so gentle handling is essential.
Preparing the Tools and the Planting Area
A garden fork is usually preferable to a shovel because it reduces the risk of cutting the corms. Before digging, remove weeds and loosen the soil around the plants. Working in dry weather makes the process easier and helps prevent excess moisture from remaining on the corms.
Digging Up the Corms Without Damage
Insert the fork several centimeters away from the plant and carefully lift the entire clump from the soil. Avoid pulling on the stems, as this may damage the corm or separate it from the roots. Shake off loose soil and place the corms on a dry surface for further cleaning.
Removing Leaves, Roots and Old Corms
After lifting, cut the stems back to a few centimeters above the corm. The old roots can be trimmed, while the shriveled parent corm beneath the new one should be removed once it separates easily. Removing old plant material reduces the risk of disease during storage and improves air circulation around the corms.
Sorting Healthy and Damaged Planting Material
Inspect each corm carefully before storage. Healthy corms should be firm, dry and free from soft spots or mold. Discard any specimens that appear rotten, heavily damaged or diseased, as they may infect healthy planting material during winter storage.
How to Clean and Dry Gladioli Bulbs
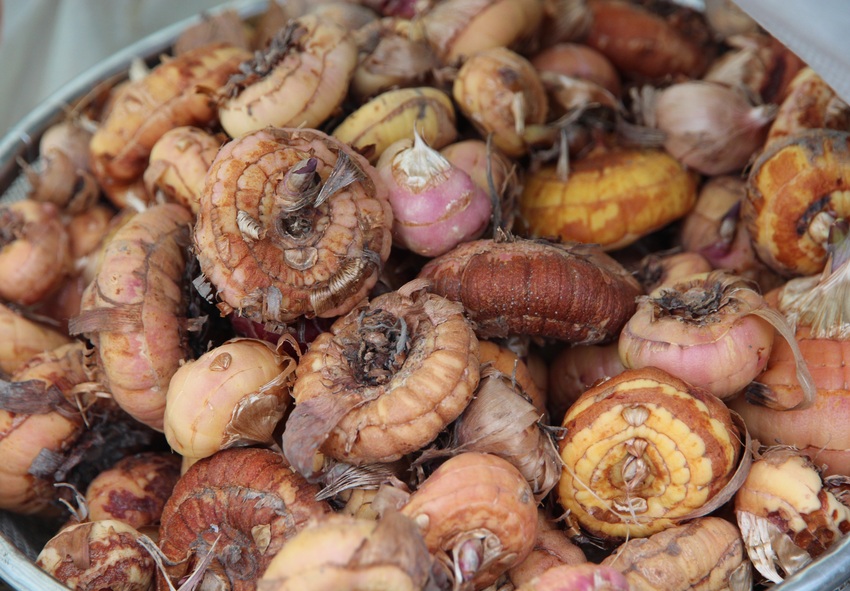
Proper cleaning and drying are essential steps that should never be skipped. Storing damp corms greatly increases the risk of rot and fungal infections.
Washing and Inspecting the Corms
Some gardeners prefer to brush off the soil without washing, while others rinse the corms gently to remove dirt. In either case, each corm should be inspected for signs of disease, pest damage or mechanical injuries. Pay particular attention to soft areas, discoloration and unusual odors.
Treating Against Diseases and Pests
Before storage, many gardeners treat gladiolus corms with fungicides or insecticides to reduce the risk of problems during winter dormancy. Natural alternatives, such as soaking the corms in a mild potassium permanganate solution, are also sometimes used. Allow the corms to dry completely after any treatment.
Proper Drying Conditions
Gladioli should be dried in a warm, well-ventilated room for two to three weeks. Temperatures between 20 and 25°C are generally ideal for curing the corms. Avoid direct sunlight and humid locations, as excessive moisture can encourage mold growth.
How to Store Gladioli During Winter
Once the corms have been properly cleaned and dried, the next challenge is keeping them in good condition until spring. Temperature, humidity and ventilation all play important roles in successful winter storage.
Ideal Temperature and Humidity
Gladiolus corms are best stored in a cool, dry place with temperatures between 3 and 8°C. Excessive warmth may cause premature sprouting, while freezing temperatures can damage the planting material. Moderate humidity is equally important. Very dry air can cause the corms to shrivel, while excessive moisture encourages mold and rot.
Choosing Suitable Containers
Good air circulation is essential during storage. Mesh bags, cardboard boxes, wooden crates and paper bags are all suitable options because they allow excess moisture to escape. Plastic bags and airtight containers should be avoided, as they trap humidity and create ideal conditions for fungal diseases.
Where to Store Gladiolus Corms
Many gardeners successfully store gladioli in basements, garages, cellars or unheated storage rooms. The location should remain cool and protected from severe frost throughout the winter. If indoor temperatures fluctuate significantly, choose the most stable environment available to minimize stress on the corms.
Regular Inspections During Dormancy
Stored gladioli should be checked every few weeks during winter. Remove any corms that become soft, moldy or damaged to prevent problems from spreading. Regular inspections also make it possible to identify premature sprouting or excessive drying before serious damage occurs.
Common Mistakes When Storing Gladioli
Even healthy corms may fail if storage conditions are unsuitable. Understanding the most common mistakes helps gardeners avoid unnecessary losses:
- Storing Bulbs While They Are Still Damp: One of the most frequent mistakes is placing gladioli into storage before they have dried completely. Residual moisture trapped between the scales creates ideal conditions for fungal infections. Always allow the corms to cure thoroughly in a warm, ventilated space before storing them for winter.
- Keeping Damaged Corms Together with Healthy Ones: A single infected corm can spread disease to an entire collection during storage. Soft spots, mold and signs of rot should never be ignored. Discard suspicious specimens immediately rather than risking the loss of healthy planting material.
- Using Containers Without Ventilation: Poor ventilation allows humidity to accumulate around the corms and increases the likelihood of mold development. Airtight plastic containers are particularly problematic. Containers that permit air circulation help maintain stable storage conditions and reduce moisture buildup.
- Incorrect Temperature Conditions: Storing gladioli in a heated room may cause them to sprout too early, while extremely cold temperatures can damage the tissues inside the corm. Maintaining a consistently cool environment throughout winter gives the best results.
How to Prepare Gladioli for Spring Planting
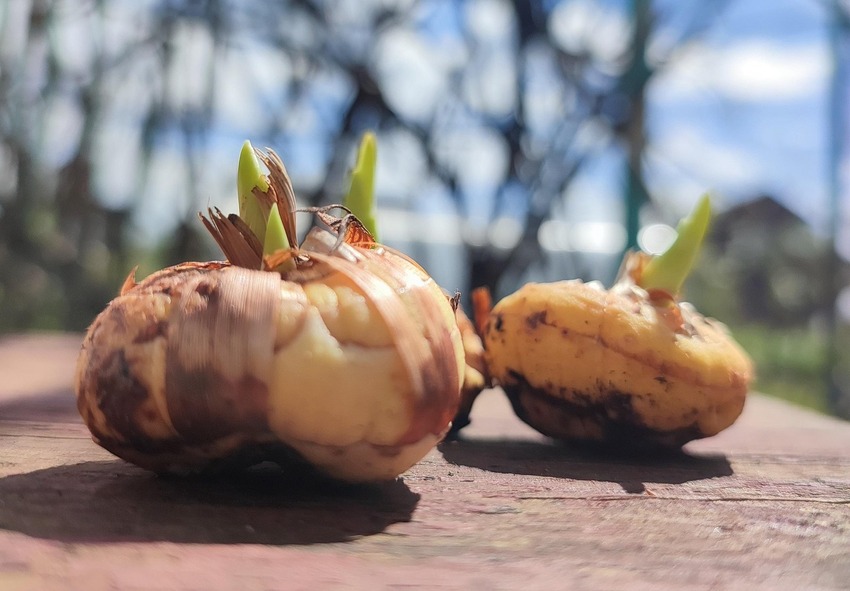
As spring approaches, the stored corms should be inspected and prepared for planting. Proper preparation encourages strong growth and healthy flowering.
Checking the Condition of the Corms
Several weeks before planting, examine each corm carefully. Healthy specimens should remain firm and show no signs of mold, rot or severe dehydration. Discard any corms that have become soft, hollow or heavily damaged during storage.
Removing Protective Scales
Some gardeners prefer to remove the outer scales before planting gladioli bulbs to make it easier to inspect the corms and encourage faster sprouting. However, this step should be performed carefully to avoid damaging the developing shoots beneath the scales.
Preparing Gladioli for Planting
Before planting, gladiolus corms can be soaked briefly in water or treated with fungicides to reduce the risk of disease. Plant them only after the soil has warmed sufficiently and the danger of severe frost has passed. Choosing a sunny location with fertile, well-drained soil will help ensure vigorous growth and abundant blooms.
Conclusion
Lifting and storing gladioli bulbs before winter is an essential part of growing these spectacular flowers in colder climates. Digging the corms at the right time, drying them thoroughly and providing suitable storage conditions greatly increase the chances of success in the following season.
With regular inspections and proper care throughout the winter months, gladioli can remain healthy and productive for many years. A little extra effort in autumn will reward gardeners with strong plants and magnificent flowers when summer returns!
Frequently Asked Questions (FAQs) about Storing Gladioli Bulbs
1. When is the best time to lift gladioli bulbs before winter?
Gladioli should usually be lifted four to six weeks after flowering has finished, once the leaves begin to yellow naturally. During this period, the foliage transfers nutrients back into the corm, helping it prepare for dormancy. In regions with early frosts, it is important to dig up the bulbs before the ground freezes to avoid winter damage.
2. How should gladioli bulbs be stored during winter?
Gladioli corms should be stored in a cool, dry and well-ventilated place with temperatures between 3 and 8°C. Cardboard boxes, mesh bags and wooden crates are good storage options because they allow air circulation. The bulbs should be checked regularly throughout winter and any damaged or moldy specimens should be removed immediately.
3. Can I order gladioli bulbs from your online store?
Yes, you can order gladioli bulbs from our online store Dutch-bulbs.com in a wide range of colors, heights and flowering periods. We offer healthy planting material suitable for flowerbeds, borders and cut-flower production. Choosing large, high-quality corms from reliable suppliers increases the chances of strong growth and abundant flowering during the next season.
4. What should I do if some gladioli bulbs become soft during storage?
Soft or moldy bulbs should be separated from healthy ones as soon as possible to prevent diseases from spreading. Slightly dehydrated corms may still recover, but bulbs with an unpleasant odor or extensive rot are unlikely to survive. Regular inspections throughout winter help identify problems before they affect the entire collection.
5. Is it necessary to wash gladioli bulbs after digging them up?
Washing gladioli bulbs is optional, but all excess soil should be removed before storage. Whether you rinse the corms or simply brush them clean, it is important to inspect them for signs of disease, pest damage or injuries. After cleaning, the bulbs must be dried thoroughly for several weeks before being stored for winter.
Published: 17.08.2026