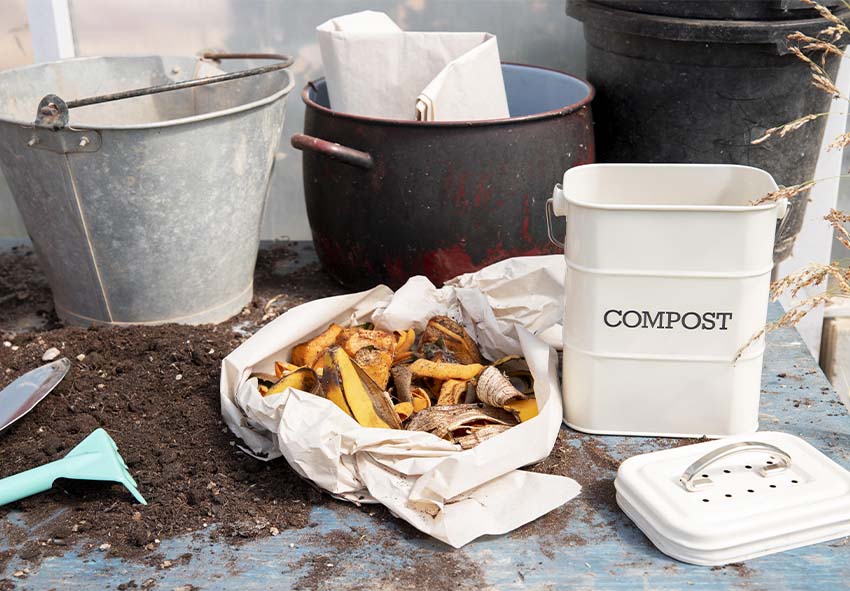
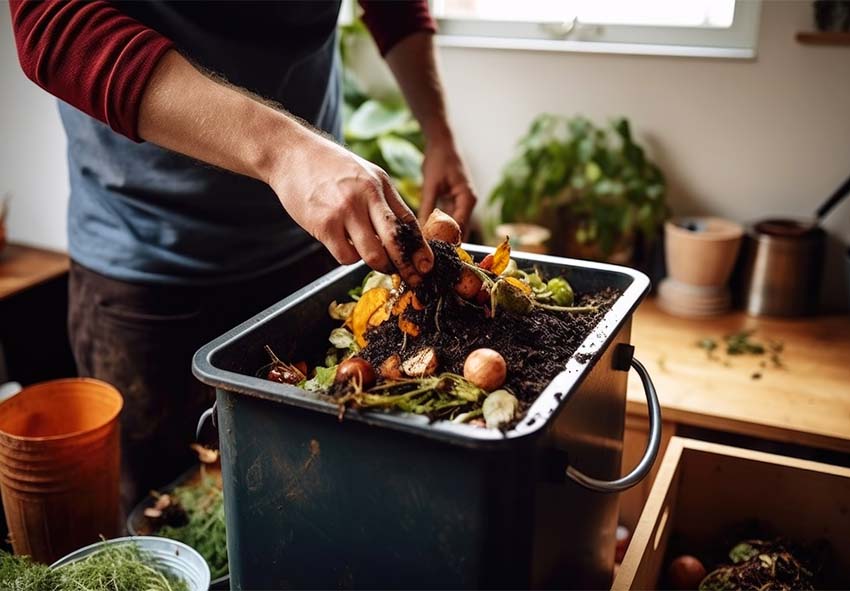
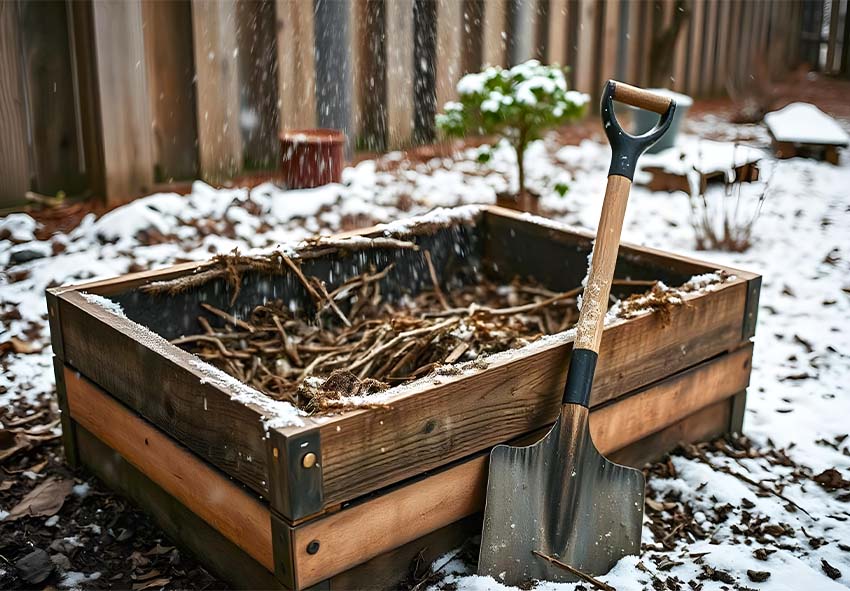
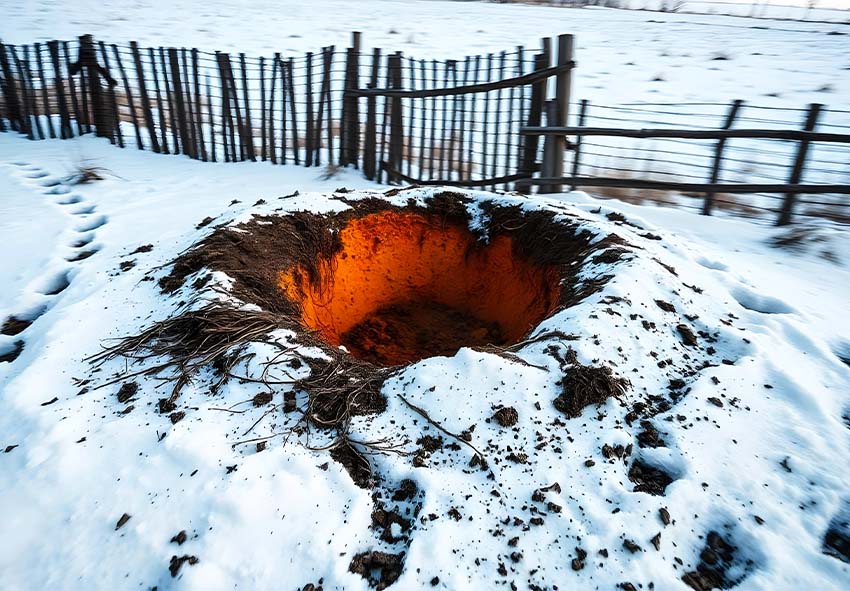
Composting isn’t just a warm-weather activity; it’s a year-round practice that benefits your garden and the environment. During winter, proper preparation and management of your compost pile ensure it remains active, setting the stage for nutrient-rich compost by spring. With a few thoughtful adjustments, winter composting can be both simple and effective. Our gardening blog is a perfect place to find all the information you need!
Why Winter Composting Matters

Winter composting offers significant benefits, even when decomposition slows. It prevents valuable organic waste from being discarded, keeps microbial life active, and ensures a steady supply of compost for spring planting. While the colder temperatures may pose challenges, a well-maintained pile continues to work, producing nutrient-dense compost for your garden.
The Role of Microbes in Winter
Microbes play a crucial role in breaking down organic material, even in winter. Although their activity decreases in colder temperatures, they don’t stop entirely. To support them, insulate your pile and maintain a balance of materials. Adding smaller scraps and turning the pile occasionally helps create a favorable environment for microbes to thrive through the season.
Preparing Your Compost Pile for Winter
Preparing your compost pile for freezing temperatures is essential to maintaining its effectiveness. Proper preparation ensures decomposition continues, even if at a slower pace, and keeps the pile manageable during the cold months.
Layering Materials Properly
Creating the right balance of materials in your compost pile is essential for efficient decomposition, especially during winter. Proper layering helps maintain airflow, regulate moisture, and insulate the pile to keep microbes active. Follow these tips to ensure your compost pile stays productive even in cold weather:
- Alternate Green and Brown Layers: Layer nitrogen-rich greens (e.g., fruit peels, grass clippings) with carbon-rich browns (e.g., leaves, cardboard) to balance decomposition.
- Start with Coarse Material: Use sticks or straw at the bottom for better airflow and drainage.
- Keep Layers Thin: Add thin layers (2–4 inches) to prevent compaction and maintain airflow.
Insulating the Pile
Insulating your compost pile helps retain heat, an essential factor for winter decomposition. Cover the pile with a tarp or add a thick layer of straw, leaves, or cardboard. This protects it from freezing temperatures and minimizes heat loss, ensuring microbial activity remains consistent.
Moisture Management
Maintaining proper moisture levels in your compost pile is just as important during winter. Too much moisture from snow or rain can lead to soggy, anaerobic conditions. To avoid this, cover your pile with a tarp and ensure a good mix of dry brown materials to absorb excess moisture and keep the pile aerated.
Adding to Your Compost in Winter

Winter composting doesn’t mean you have to stop adding organic material. With the right adjustments, your pile can continue to process waste efficiently through the colder months. Also check the information about how to start a compost pile.
What to Add to Your Compost in Winter
Even in colder months, you can continue feeding your compost pile with the right materials. These items decompose efficiently and provide essential nutrients for your soil, ensuring your pile remains productive throughout winter. Consider adding:
- Fruit and Vegetable Scraps: Peels, cores, and other food waste are rich in nutrients that fuel microbial activity.
- Coffee Grounds and Tea Bags: These are excellent sources of nitrogen, and their fine texture aids in even distribution within the pile.
- Shredded Leaves and Cardboard: These carbon-rich materials add structure and help insulate the pile.
- Eggshells (Crushed): They provide calcium and help balance pH levels in your compost.
- Grass Clippings (In Moderation): Green clippings are high in nitrogen but should be mixed well to avoid compaction.
What to Avoid Adding to Your Compost in Winter
Certain materials can disrupt the composting process, especially in cold weather. To prevent issues like odors or pests, it’s essential to avoid adding the following:
- Meat, Dairy, and Oily Foods: These attract animals, decompose slowly, and can create unpleasant smells.
- Large, Unprocessed Scraps: Big chunks of food waste or yard debris take longer to break down in the cold. Chop them into smaller pieces before composting.
- Diseased Plants: These may harbor pathogens that survive the winter and affect your garden soil later.
- Pet Waste: Manure from carnivorous animals can introduce harmful bacteria and parasites to your compost.
- Synthetic Materials: Items like plastic, coated paper, or treated wood won’t decompose and can contaminate your pile.
Chopping and Shredding Scraps
Smaller pieces of organic waste decompose faster, especially in colder conditions. Chop kitchen scraps into small chunks and shred yard waste before adding them to the pile. This increases the surface area for microbes to work on, speeding up decomposition and keeping the pile active even when temperatures drop.
Maintaining the Pile During Winter

Keeping your compost pile active through winter requires consistent care and attention. While decomposition naturally slows in cold weather, there are several steps you can take to ensure the pile remains functional. Focus on maintaining airflow and monitoring the pile’s temperature to keep it productive.
Turning the Pile (When Possible)
Aeration is vital for preventing compaction and maintaining microbial activity. While turning the pile may be harder during freezing conditions, occasional turning helps refresh oxygen levels and mix materials. Aim to turn the pile on milder days to avoid disrupting its insulation.
Checking for Heat
Monitoring the internal temperature of your compost pile provides insights into its activity. Use a compost thermometer to ensure the center stays warm enough for microbes to function. If the pile cools down, add more green materials or insulate further to boost heat retention.
Troubleshooting Winter Composting Issues
Winter composting can present unique challenges, but understanding common problems makes it easier to overcome them. Addressing issues like freezing or excess moisture ensures your pile remains healthy and active.
Frozen Pile
A frozen compost pile is common in colder climates, but it’s not the end of the world. Simply allow the pile to thaw naturally as temperatures rise. To minimize freezing, insulate the pile with straw or a tarp and focus on layering materials to retain heat.
Too Much Moisture
Excessive moisture can lead to waterlogged compost, slowing decomposition and creating unpleasant odors. Look for signs like soggy layers or pooling water. To fix this, mix in more dry materials like shredded cardboard or leaves and ensure the pile is covered to protect it from rain and snow.
Preparing for Spring Compost Use

As winter gives way to spring, your compost pile can transition into a valuable resource for your garden. Taking the time to evaluate and prepare the compost ensures it’s ready to nourish your plants.
Checking Compost Quality
Before using your compost in the garden, it’s essential to ensure it’s properly decomposed and nutrient-rich. Here’s how to determine if your compost is ready:
- Appearance: Finished compost should be dark brown or black with a crumbly, soil-like texture. No recognizable food scraps or plant materials should remain.
- Smell: Well-made compost smells earthy and pleasant. If it smells sour or like ammonia, it may still be decomposing.
- Temperature: Use a compost thermometer to check for cool or ambient temperatures, indicating the pile has stabilized and is no longer actively decomposing.
- Moisture Level: Squeeze a handful of compost; it should feel damp like a wrung-out sponge, not soggy or dry.
- Plant Test: Try growing a small plant in the compost. Healthy growth indicates it’s nutrient-rich and safe for garden use.
Storing Finished Compost
If your compost isn’t immediately needed, proper storage is essential. Keep it in a breathable container or pile, covered to prevent excess moisture but open to airflow. This helps maintain its quality until you’re ready to use it in spring planting.
Conclusion
Winter composting is a rewarding practice that ensures your garden benefits year-round. By managing your pile effectively, troubleshooting seasonal issues, and preparing for spring, you’ll create nutrient-rich compost to support thriving plants. Explore our online store for composting supplies and start building your garden’s foundation today!
Frequently Asked Questions (FAQs) about Composting in Winter
1. Can I keep adding scraps to my compost pile during winter?
Yes, you can add kitchen scraps like fruit peels, coffee grounds, and shredded leaves throughout winter. Just chop the scraps into smaller pieces to speed up decomposition. Cover new additions with a layer of brown materials like straw or dried leaves to maintain balance and prevent odors.
2. How do I prevent my compost pile from freezing?
To prevent freezing, insulate your compost pile using straw, a tarp, or extra layers of brown materials like leaves or cardboard. These layers trap heat generated by microbial activity. While decomposition slows in freezing temperatures, insulating the pile helps keep microbes active longer.
3. What should I avoid adding to my compost pile in winter?
Avoid adding large, unprocessed materials like whole branches, excess food scraps, or oily and greasy items. These take longer to decompose and can attract pests. Additionally, avoid adding overly wet materials that may saturate the pile and reduce airflow.
4. How do I manage moisture levels in my compost pile during winter?
Prevent excess moisture by covering the pile with a tarp to shield it from rain and snow. Add extra brown materials like straw or shredded cardboard to absorb water. Regularly check the pile’s moisture—it should feel like a wrung-out sponge—and adjust accordingly by adding more dry or green materials.
5. Can I use winter compost in my garden immediately in spring?
Yes, but check the compost quality first. Finished compost will be dark, crumbly, and smell earthy. If it’s not fully decomposed, let it cure for a few weeks before applying it to garden beds. Sift the compost to remove any larger, undecomposed pieces for best results.
Published: 29.11.2024
