Dutch Irises are cherished for their striking beauty and vibrant colors, making them a favorite in gardens worldwide. With their elegant blue, purple, yellow, and white flowers, they bring a touch of sophistication and charm to any landscape. This guide will walk you through the essential steps of planting, caring for, and maintaining Dutch Iris bulbs to ensure they thrive and bloom beautifully. Find even more useful information about Dutch Irises on our blog!
Preparing to Plant Dutch Iris Bulbs

Successful cultivation of Dutch Irises begins with proper preparation. Selecting high-quality bulbs and planting them at the right time are crucial for optimal growth and blooming.
Choosing Quality Bulbs
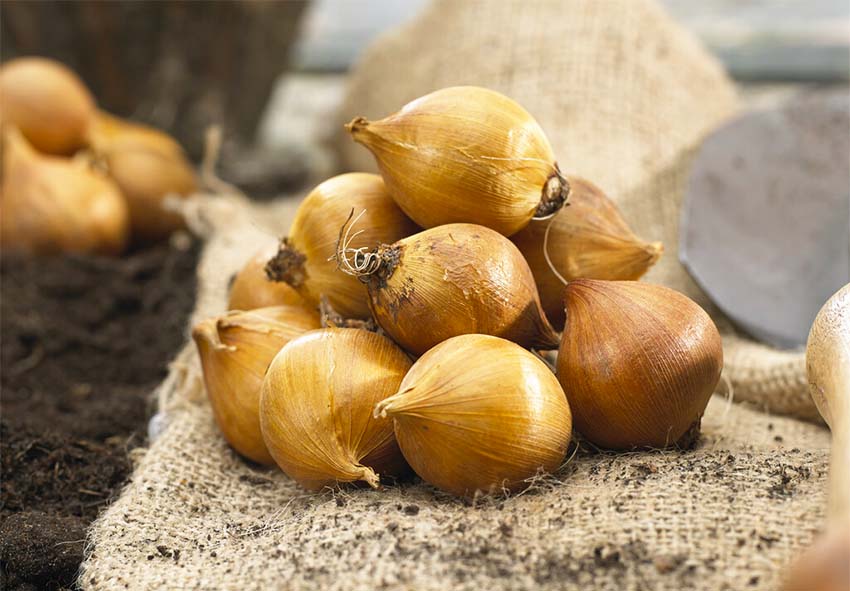
Selecting healthy and viable Dutch Iris bulbs is the first step towards a flourishing garden. When purchasing bulbs, look for those that are firm to the touch and free of blemishes, mold, or soft spots. Also avoid bulbs that are dried out or have signs of rot. Here are some tips for you:
| Quality Aspect | Description |
| Firmness | Bulbs should feel firm and solid when squeezed, indicating they are healthy and not dried out. |
| Size | Larger bulbs generally produce more robust plants and flowers. Look for bulbs that are plump and sizeable. |
| Appearance | The outer layer of the bulbs should be smooth and intact without any signs of cracks, blemishes, or peeling. |
| Weight | Healthy bulbs are heavier relative to their size, indicating they are not dried out. |
| Absence of Mold | Check for any signs of mold or mildew on the bulbs. Mold indicates poor storage conditions and potential decay. |
| Root Nubs | Look for small root nubs or beginnings of roots, which indicate the bulb is viable and ready to grow. |
| No Soft Spots | Soft or mushy areas on a bulb suggest rot or disease. The bulb should be uniformly firm. |
When to Plant Dutch Iris Bulbs
Timing is critical when planting Dutch Iris bulbs. The best time to plant these bulbs is in the fall, typically between September and November, depending on your local climate. This timing allows the bulbs to establish roots before the winter frost and ensures they are ready to grow and bloom in the spring. In warmer climates, you can plant Dutch Iris bulbs in late winter or early spring, just before the last frost.
Planting Dutch Iris Bulbs

Proper planting techniques are essential for the healthy growth of Dutch Irises. Preparing the soil, planting at the correct depth, and ensuring adequate spacing will set the stage for beautiful blooms.
Soil Preparation
Dutch Irises thrive in well-draining soil with a slightly acidic to neutral pH level, ideally between 6.0 and 7.0. Before planting, prepare the soil by loosening it to a depth of about 12 inches. Incorporate organic matter such as compost or well-rotted manure to improve soil structure and fertility. This preparation ensures that the bulbs have access to the nutrients they need to grow strong and healthy.
Planting Depth and Spacing
When planting Dutch Iris bulbs, depth and spacing are important considerations. Plant the bulbs 4-6 inches deep, with the pointed end facing upwards. Space the bulbs about 4-6 inches apart to allow for adequate air circulation and room for growth. Proper spacing also helps prevent overcrowding, which can lead to disease and poor flowering.
Step-by-Step Planting Process
Here are a step-by-step instruction for planting your Dutch Iris bulbs:
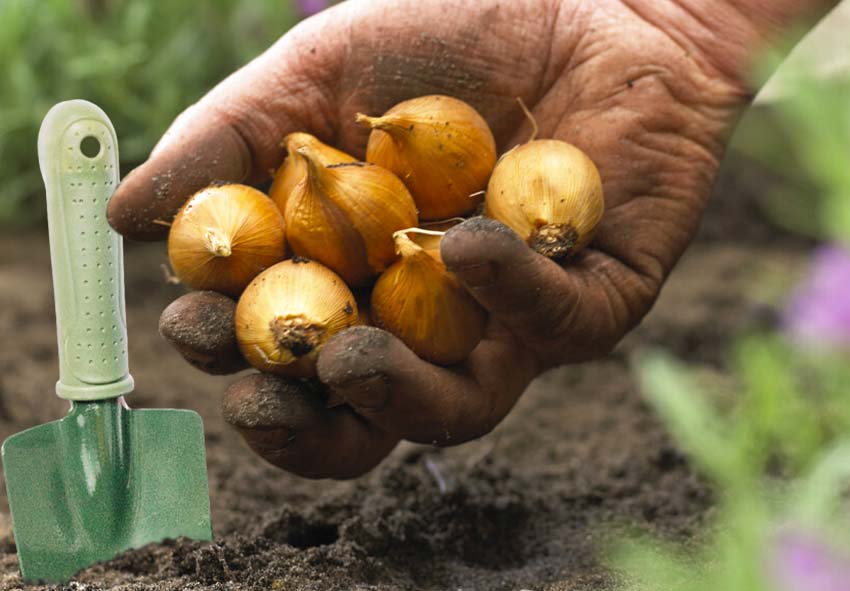
- Digging the Holes: Dig holes 4-6 inches deep, ensuring there is enough space between each hole. Use a garden trowel or bulb planter to achieve the proper depth. Space the holes 4-6 inches apart to allow for adequate air circulation and room for the bulbs to grow. Ensure the soil at the bottom of the hole is loose to facilitate root penetration.
- Placing the Bulbs: Place the bulbs in the holes with the pointed end facing up. Position the bulbs gently to avoid damaging their delicate tips. If planting in a group, arrange the bulbs in a naturalistic pattern rather than in straight rows for a more natural look.
- Covering with Soil: Fill the holes with soil, gently firming it around the bulbs. Ensure the soil covers the bulbs completely without leaving any gaps. Avoid compacting the soil too much, as this can impede root growth. Add a layer of mulch on top to help retain moisture and suppress weeds.
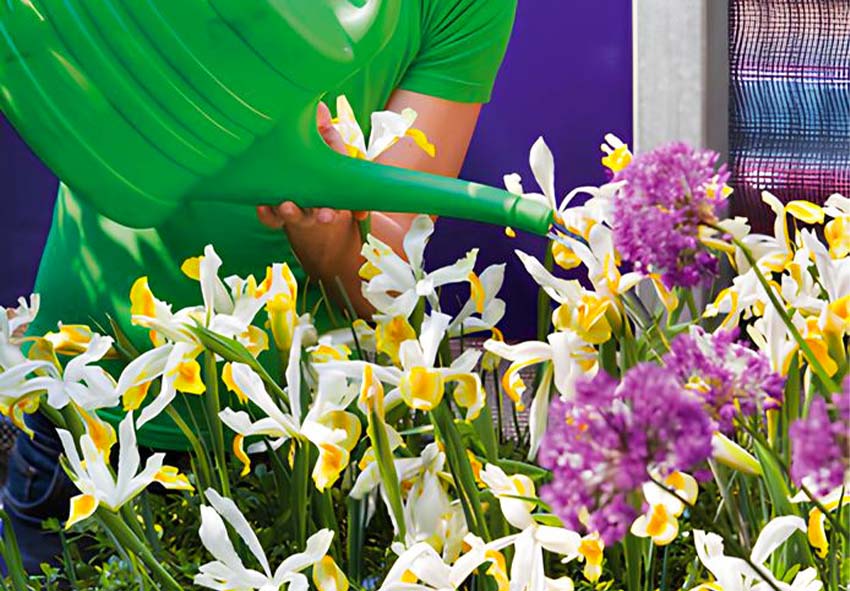
- Watering: Water the newly planted bulbs thoroughly to help settle the soil and initiate root growth. Ensure the soil is moist but not waterlogged, as excess water can cause the bulbs to rot. Monitor soil moisture regularly, especially during dry periods, to keep the bulbs hydrated. Consider using a soaker hose or drip irrigation system to provide consistent moisture without overwatering.
Caring for Dutch Irises

Once planted, Dutch Irises require proper care to ensure they thrive and produce beautiful blooms. Key care aspects include watering, light, temperature, fertilization, and pruning.
Watering Needs
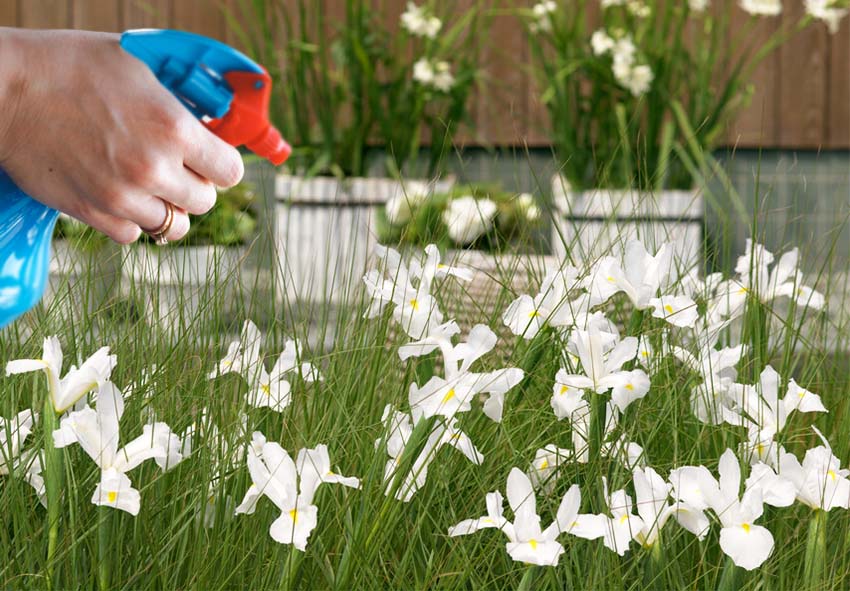
Dutch Irises need consistent moisture during their growing season. Water them regularly, keeping the soil evenly moist but not waterlogged. Reduce watering after the flowers have bloomed and the foliage begins to die back, as the bulbs enter a dormant period and require less moisture.
Light and Temperature Requirements
Dutch Irises prefer full sun to partial shade. In regions with hot summers, some afternoon shade can help protect the plants from excessive heat. These irises thrive in temperatures ranging from 60°F to 75°F (15°C to 24°C) during the growing season. Ensure they receive at least 6 hours of direct sunlight daily for optimal growth and flowering.
Fertilizing Dutch Irises
Feed Dutch Irises with a balanced, slow-release fertilizer in early spring as new growth appears. Follow up with another application after blooming to provide nutrients for the next year’s growth. Avoid over-fertilizing, as this can lead to lush foliage at the expense of flowers.
Pruning and Deadheading
Pruning and deadheading are essential for maintaining healthy Dutch Irises. Remove spent flowers to encourage the plant to focus its energy on producing new blooms rather than seed formation. Cut back the foliage only after it has turned yellow and died back naturally, as this allows the plant to store energy in the bulbs for the next growing season.
Post-Bloom Care for Dutch Irises

Proper care after blooming ensures that Dutch Irises remain healthy and ready for the next season. Post-bloom care includes managing the foliage, storing bulbs, and dividing and repotting as needed.
Care After Blooming
After the flowers have faded, continue to water the plants until the foliage turns yellow and dies back. This period allows the bulbs to store energy for the next season. Avoid cutting back green foliage, as it is essential for photosynthesis and nutrient storage.
Storing Bulbs for Next Season
If you live in an area with harsh winters or wish to replant your bulbs in a different location, you can lift and store the bulbs. Dig up the bulbs carefully, brush off any soil, and allow them to dry in a cool, shaded area for a few days. Store the bulbs in a paper bag or mesh sack in a cool, dry place until replanting time.
Dividing and Repotting Dutch Irises
Every few years, it’s beneficial to divide and repot Dutch Iris bulbs to prevent overcrowding and ensure vigorous growth. Here are some tips for you:
- Dig up the clumps of bulbs in the fall.
- Separate the offsets carefully from the main bulbs.
- Inspect the bulbs for any signs of disease or rot and discard any unhealthy ones.
- Replant the bulbs in well-prepared soil.
This practice rejuvenates the plants and can lead to more abundant blooms.
Conclusion
By following these detailed tips and techniques, you can enjoy vibrant and healthy Dutch Irises throughout the year. Our blog is a perfect place to find all the information you need. From selecting quality bulbs and planting them correctly to providing consistent care and post-bloom maintenance, each step is crucial for successful growth and beautiful flowering. Embrace the joy of gardening with Dutch Irises and watch your garden come to life with their stunning blooms.
Frequently Asked Questions (FAQs) about planting Dutch Irises
1. How deep should I plant Dutch Iris bulbs?
Plant Dutch Iris bulbs 4-6 inches deep, with the pointed end facing up. This depth helps protect the bulbs from frost and provides the necessary environment for root development.
2. What type of soil is ideal for Dutch Irises?
Dutch Irises prefer well-draining soil with a slightly acidic to neutral pH level, ideally between 6.0 and 7.0. Incorporate organic matter such as compost or well-rotted manure to improve soil structure and fertility.
3. How often should I water Dutch Irises?
During the growing season, keep the soil evenly moist but not waterlogged. Water regularly, especially during dry periods. Reduce watering after the flowers have bloomed and the foliage starts to die back as the bulbs enter dormancy and require less moisture.
4. Can I grow Dutch Irises in pots?
Yes, Dutch Irises can be grown in pots. Ensure the pots have good drainage and use a well-draining potting mix. Place the pots in a location that receives full sun to partial shade. Water them regularly, and follow similar care guidelines as for garden-grown irises.
5. Can I order Dutch Irises from your online store?
Yes, you can! Our online store Dutch-bulbs.com offers a wide selection of Dutch Irises, including different varieties and colors. We take pride in providing top-quality plants that are carefully cultivated and shipped with care to ensure they reach you in perfect condition. Explore our collection and place your order for a delightful addition to your home or garden.
Published: 12.06.2024
