Sedum plants, known for their resilience and vibrant blooms, are a popular choice for gardeners looking to create low-maintenance landscapes. Proper timing and planting techniques are crucial for ensuring these hardy perennials thrive in your garden. Understanding the right time to plant Sedum bulbs and following the correct methods can lead to a lush and long-lasting display. Our gardening blog is a perfect place to find all the information you need!
Best Time to Plant Sedum Bulbs

Choosing the right time to plant Sedum bulbs is essential for their successful growth. The timing impacts how well the bulbs establish roots and adapt to their environment, setting the stage for future blooming.
Understanding the Planting Seasons
- Spring Planting
Spring is often considered the ideal time for planting Sedum bulbs. The warming soil and increasing daylight encourage root development and early growth. Planting in spring gives the bulbs a full growing season to establish themselves, leading to robust plants by summer.
- Fall Planting:
Planting Sedum bulbs in the fall has its advantages, particularly in regions with milder winters. Fall planting allows the bulbs to establish roots before winter dormancy, resulting in strong growth when the weather warms up in spring. The cooler temperatures also reduce the stress on newly planted bulbs, helping them settle in better.
Regional and Climate Considerations
In frost-prone areas, timing is everything. Planting too late in fall can lead to bulbs being damaged by early frosts. It’s best to plant in early fall, giving the bulbs time to develop roots before the first hard frost. In spring, wait until the danger of frost has passed to ensure the bulbs aren’t exposed to freezing temperatures.
For gardeners in warmer regions, the timing for planting Sedum bulbs can be more flexible. In these areas, fall planting is often preferred because it allows the plants to establish roots during the cooler months and take advantage of the mild winter. However, spring planting is also an option, as long as it’s done before the intense summer heat sets in.
Soil Temperature and Readiness
Soil temperature plays a critical role in the successful establishment of Sedum bulbs. Ideally, the soil should be between 50-60°F (10-15°C) at planting depth. This range promotes healthy root growth without shocking the bulbs with too cold or too warm soil.
To ensure the soil is ready for planting, it’s important to measure the temperature accurately. Use a soil thermometer inserted at the depth where the bulbs will be planted. If the temperature falls within the optimal range, the soil is ready for planting.
Before planting, ensure the soil is well-prepared to give your Sedum bulbs the best start. Loosen the soil to improve drainage and mix in compost or organic matter to enrich it. This preparation ensures the bulbs have the nutrients they need and that excess water drains away, preventing rot.
Techniques for Planting Sedum Bulbs

Proper planting techniques are key to the success of Sedum bulbs. From selecting the right location to following the correct planting depth, each step plays a role in ensuring healthy growth and blooming. Additional planting tips are available in a full guide for Sedum.
Selecting the Right Location
- Sunlight Requirements: Sedum plants thrive in full sun, needing at least 6 hours of direct sunlight daily. Choose a location in your garden that receives ample sunlight, as this encourages vigorous growth and abundant flowering. While Sedum can tolerate partial shade, too much shade may result in leggy plants with fewer blooms.
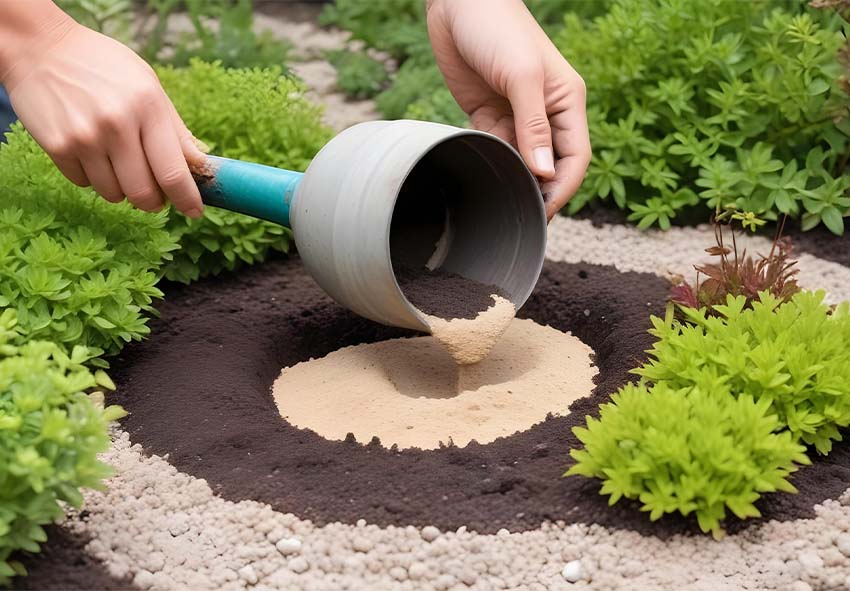
- Soil Type and Drainage: Well-drained soil is crucial for Sedum bulbs, as they are susceptible to rot in waterlogged conditions. If your garden soil is heavy clay or prone to poor drainage, consider amending it with sand or grit to improve its structure. Raised beds or mounded planting areas can also help by ensuring excess water drains away from the bulbs.
- Protection from Wind: Sedum plants prefer locations sheltered from strong winds, which can cause the plants to become top-heavy and fall over. Plant Sedum near a windbreak, such as a fence, wall, or larger shrubs, to provide stability. This protection helps maintain upright growth and prevents damage to the plants.
Step-by-Step Planting Guide
Here’s some tips for you to plant your dutch Sedum:
Depth and Spacing:
- Plant Sedum bulbs at a depth of 2-3 inches (5-8 cm).
- Space bulbs 6-8 inches (15-20 cm) apart.
- Proper spacing ensures plants don’t compete for nutrients.
- Adequate spacing also promotes airflow, reducing disease risk.
Planting Method:
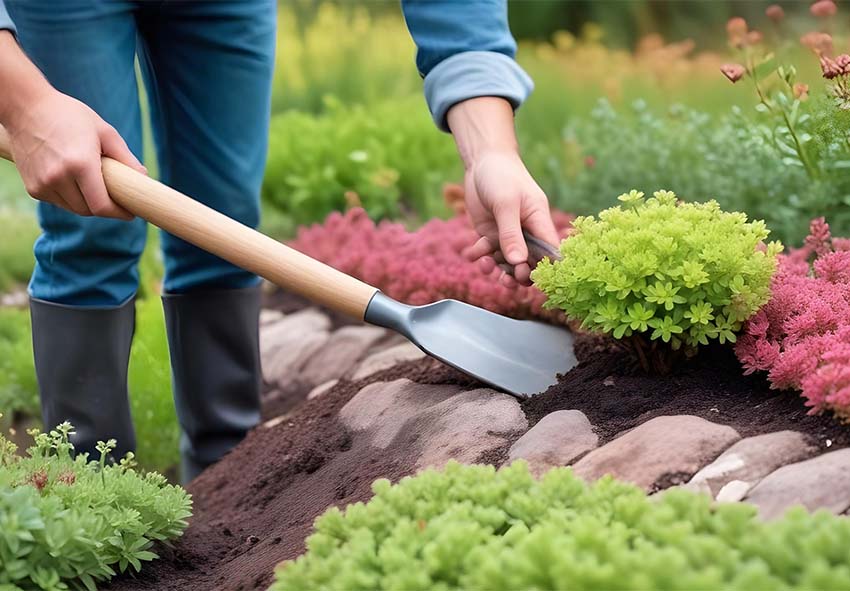
- Dig a hole to the required depth.
- Place the bulb with the pointed end facing up.
- Cover the bulb with soil and gently firm it down to eliminate air pockets.
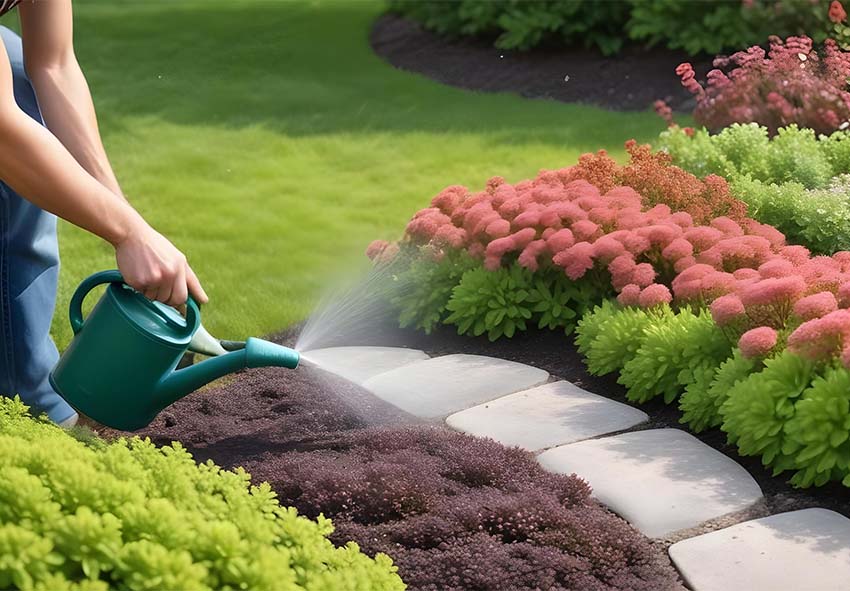
- Lightly water the area after planting, but avoid soaking the soil.
Mulching and Protection
Mulching around Sedum bulbs offers several benefits. It helps retain moisture, keeps the soil temperature stable, and suppresses weed growth. Use a layer of organic mulch, such as shredded bark or straw, about 2-3 inches (5-8 cm) thick, taking care not to cover the bulbs directly.
Also Sedum bulbs can be vulnerable to pests like rodents or insects during their early stages. To protect them, consider using a wire mesh or hardware cloth over the planting area to deter digging animals. Insect pests can be managed with natural repellents or by encouraging beneficial insects that prey on them.
Common Planting Mistakes to Avoid

Even with the best intentions, common mistakes can hinder the growth of Sedum bulbs. By being aware of these pitfalls, you can ensure a more successful planting experience.
Planting Too Deep or Shallow
Planting Sedum bulbs at the wrong depth can affect their ability to grow and bloom. If planted too deep, the bulbs may struggle to emerge, leading to weak plants. Conversely, planting too shallowly can expose the bulbs to temperature extremes and pests. Always follow the recommended planting depth to give your Sedum bulbs the best chance of success.
Poor Soil Preparation
Sedum bulbs require well-prepared soil to thrive. Planting in compacted or poorly drained soil can lead to poor root development and increased risk of rot. To avoid this, take the time to loosen the soil and incorporate organic matter before planting. This preparation ensures the bulbs have the nutrients and drainage they need to establish healthy roots.
Overwatering or Underwatering
Finding the right balance between overwatering and underwatering is crucial for Sedum bulbs. Overwatering can lead to bulb rot, while underwatering can cause the bulbs to dry out and fail to establish. Monitor the soil moisture levels regularly and water the bulbs only when the top inch of soil feels dry to the touch.
Conclusion
Successfully planting Sedum bulbs involves careful timing, proper techniques, and avoiding common mistakes. By planting at the right time, selecting the ideal location, and following best practices, you can ensure your Sedum plants thrive and bring vibrant beauty to your garden. With a little care and attention, you’ll enjoy a stunning display of Sedum year after year.
Frequently Asked Questions (FAQs) about Planting Sedum
1. When is the best time to plant Sedum bulbs in my garden?
The best time to plant Sedum bulbs is either in early spring or fall. Spring planting allows the bulbs to establish roots as temperatures rise, leading to healthy summer growth. Fall planting is also effective, giving the bulbs time to develop roots before winter dormancy and resulting in robust plants by spring.
2. Can I order Holland Sedum from your online store?
Yes, you can! Our online store Dutch-bulbs.com offers a wide selection of Sedum plants, including different varieties and colors. We take pride in providing top-quality plants that are carefully cultivated and shipped with care to ensure they reach you in perfect condition.
3. How deep should Sedum bulbs be planted, and how far apart should they be spaced?
Plant Sedum bulbs at a depth of 2-3 inches (5-8 cm) and space them 6-8 inches (15-20 cm) apart. This depth ensures proper root development, while adequate spacing prevents overcrowding, promotes airflow, and reduces the risk of disease. Proper planting helps the bulbs establish well and encourages vigorous growth.
4. What type of soil is ideal for planting Sedum bulbs?
Sedum bulbs thrive in well-drained soil that prevents waterlogging, which can cause rot. If your garden has heavy clay or poorly drained soil, improve it by adding sand or grit. Raised beds or mounded planting areas can also enhance drainage, creating a more suitable environment for Sedum bulbs to grow successfully.
5. How much sunlight do Sedum plants need to thrive?
Sedum plants require full sun, needing at least 6 hours of direct sunlight daily for optimal growth. While they can tolerate partial shade, too much shade may lead to leggy plants with fewer blooms. Choosing a sunny spot in your garden ensures Sedum plants will grow vigorously and produce abundant flowers.
Published: 23.08.2024
