Pruning Hydrangeas
Hydrangeas are beloved for their stunning blooms, but proper pruning is essential to ensure healthy growth and abundant flowers. Understanding the different types of hydrangeas and the techniques for pruning them is crucial for maintaining their beauty year after year. Our blog is a perfect place to find all the information you need.
Understanding Hydrangea Types for Pruning
Hydrangeas are categorized into different types based on their blooming habits, including mophead, lacecap, panicle, and oakleaf varieties. Each type may require slightly different pruning methods to encourage optimal flowering. For example, mophead and lacecap hydrangeas bloom on old wood, meaning they form flower buds the previous year. These varieties should be pruned immediately after flowering to avoid cutting off next year’s blooms. In contrast, panicle hydrangeas bloom on new wood, so they can be pruned in late winter or early spring before new growth begins.
Techniques for Pruning Hydrangeas
Pruning is very important for your hydrangea plants. Here is a list of techniques for pruning hydrangeas:
- Timing: Prune hydrangeas at the right time of year based on their specific type. For example, prune Bigleaf hydrangeas (Hydrangea macrophylla) after they finish blooming in late summer, Smooth hydrangeas (Hydrangea arborescens) in late winter or early spring before new growth emerges, Panicle hydrangeas (Hydrangea paniculata) in late winter or early spring before new growth begins.
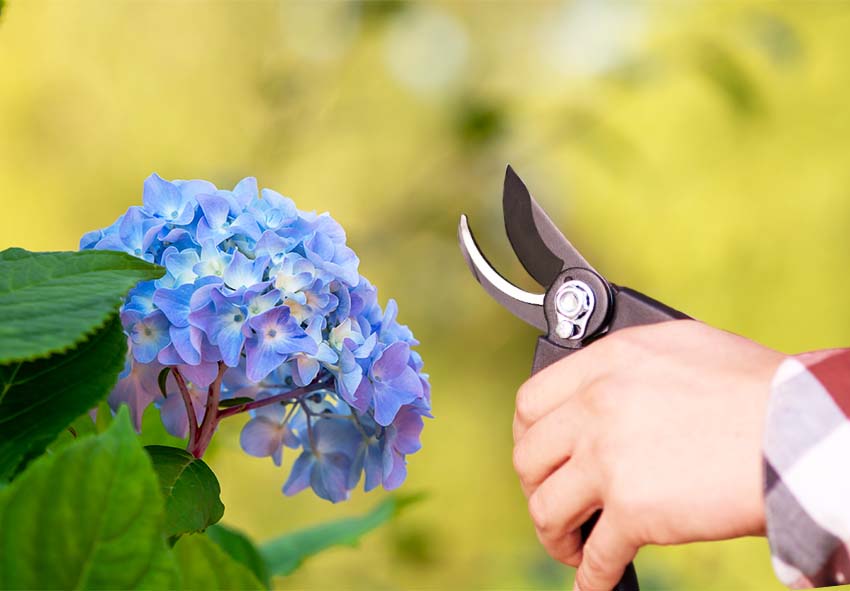
- Deadheading: Remove spent flowers to encourage new growth and prolong the blooming season. Cut just below the spent flower head, taking care not to damage nearby buds.
- Removing Dead or Diseased Wood: Regularly inspect hydrangeas for dead or diseased branches and prune them back to healthy growth. Cut all the way back to where the branch meets healthy wood.
- Size Control: If hydrangeas are getting too large or unruly, prune selectively to control their size and shape. Focus on cutting back longer branches to maintain a tidy appearance while still preserving the natural form of the shrub.
- Thinning: Remove some of the older, thicker stems at ground level to open up the interior of the shrub and improve air circulation. This can help reduce the risk of disease and promote healthier growth.
- Avoid Over-Pruning: While hydrangeas can tolerate pruning, avoid excessive cutting, especially in the fall or early winter, as it can remove next season’s flower buds.
Watering Hydrangeas
Proper hydration is vital for hydrangeas to thrive and produce beautiful blooms. Understanding the best watering practices and seasonal watering tips can help ensure your hydrangeas remain healthy and vibrant throughout the growing season.
Proper Hydration Practices
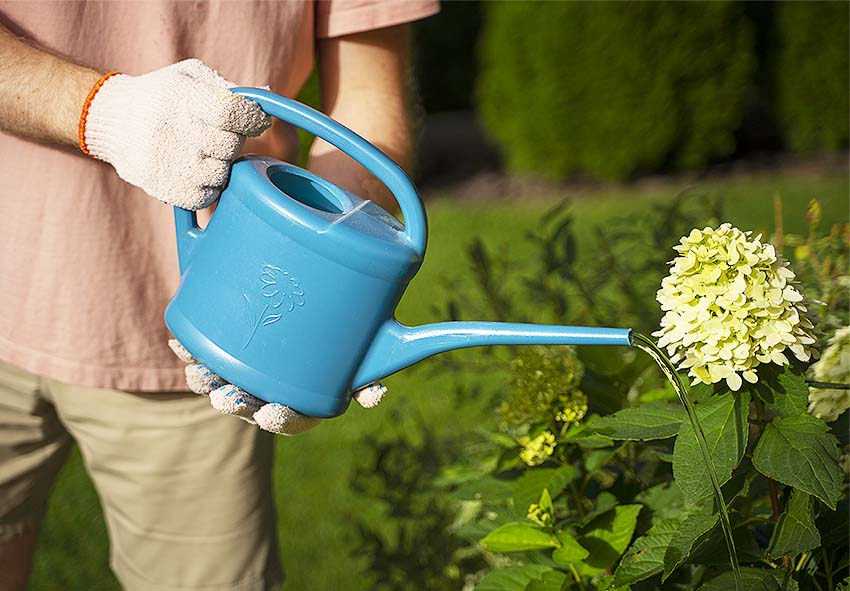
Hydrangeas prefer consistently moist soil, but they can be susceptible to root rot if overwatered. Water deeply, ensuring the soil is evenly moist but not waterlogged. Allow the top inch of soil to dry out slightly between waterings to prevent waterlogged conditions. Apply water at the base of the plant to avoid wetting the foliage, which can increase the risk of fungal diseases.
Seasonal Watering Tips

For better care for hydrangeas, you may need some seasonal watering tips:
Spring:
- Monitor soil moisture levels as the weather warms up.
- Water newly planted hydrangeas regularly to help them establish strong root systems.
- Apply water deeply to encourage deep root growth.
- Water early in the day to allow foliage to dry before evening, reducing the risk of fungal diseases.
Summer:
- Hydrangeas need consistent moisture during hot summer months.
- Water deeply and thoroughly, ensuring the soil is evenly moist but not waterlogged.
- Mulch around hydrangeas to help retain soil moisture and regulate temperature.
- Consider using drip irrigation or soaker hoses to deliver water directly to the root zone, minimizing water waste.
Fall:
- Adjust watering frequency as temperatures begin to cool.
- Reduce watering gradually as the weather cools and rainfall increases.
- Continue watering hydrangeas during dry spells to prevent drought stress.
- Avoid overhead watering in the fall to minimize the risk of fungal diseases.
Winter:
- Reduce watering significantly during the dormant winter months.
- Water only if the soil becomes excessively dry during mild winter periods.
- Protect hydrangeas from excessive moisture in the soil, which can lead to root rot in cold, wet conditions.
- Mulch around the base of hydrangeas to insulate the soil and help regulate moisture levels.
General Tips:
- Use a moisture meter or perform the finger test to determine when hydrangeas need watering.
- Water deeply less frequently rather than shallowly more often to encourage deep root growth.
- Avoid letting the soil dry out completely between waterings, especially during hot weather.
- Adjust watering practices based on weather conditions, soil type, and individual plant needs.
By following these seasonal watering tips, you can help ensure that your hydrangeas receive the appropriate amount of moisture throughout the year, promoting healthy growth and abundant blooms.
Pest Control for Hydrangeas

While hydrangeas are relatively low-maintenance plants, they can be susceptible to common pests and diseases. Understanding these potential threats and implementing effective pest control measures is essential for keeping your hydrangeas healthy and thriving.
Common Diseases
Hydrangeas may encounter diseases such as powdery mildew, leaf spot, and root rot, especially in humid or poorly drained conditions. We can recommend you a few ways to prevent some of the most common diseases for you hydrangea plants:
| Disease | Description | Prevention | Solutions |
| Powdery Mildew | Fungal disease that appears as white powdery spots on leaves and stems. | Plant hydrangeas in well-draining soil. Provide adequate air circulation around plants. Avoid overhead watering. | Remove and destroy infected plant parts. Apply fungicides as directed. Improve air circulation around plants. |
| Leaf Spot | Fungal disease causing dark spots on leaves, often surrounded by yellow halos. | Avoid overhead watering. Water at the base of plants to keep foliage dry. Space plants appropriately to allow for air circulation. | Remove and destroy infected leaves. Apply fungicides labeled for leaf spot control. Prune plants to improve air circulation. |
| Gray Mold | Also known as Botrytis blight, this fungal disease causes grayish-brown mold on flowers, leaves, and stems. | Avoid overhead watering. Remove spent flowers promptly. Space plants to improve air circulation. | Remove and destroy infected plant parts. Apply fungicides labeled for gray mold control. Improve air circulation around plants. |
| Root Rot | Fungal disease that affects the roots, causing wilting, yellowing leaves, and eventual plant death. | Plant hydrangeas in well-draining soil. Avoid overwatering. Ensure proper soil drainage. | Improve soil drainage if necessary. Remove and discard infected plants. Treat healthy plants with fungicides preventively. |
| Bacterial Blight | Bacterial disease characterized by brown or black spots on leaves, often with a watery appearance. | Avoid overhead watering. Remove and destroy infected plant parts. Sterilize pruning tools between cuts. | Prune out infected branches at the first sign of symptoms. Apply copper-based fungicides as directed. Improve air circulation around plants. |
Winter Care for Hydrangeas
Winter can be a challenging time for hydrangeas, especially in colder climates where frost damage is a concern. Taking steps to protect hydrangeas from frost damage and winter weather conditions can help ensure their survival and vitality come spring.
Protecting from Frost Damage
In colder regions, mulch around the base of hydrangeas in late fall to insulate the roots and protect them from freezing temperatures. Avoid pruning hydrangeas in late fall or early winter, as this can stimulate new growth that is susceptible to frost damage. Consider covering hydrangeas with burlap or frost cloth during extreme cold snaps to provide additional protection against freezing temperatures.
Conclusion
In conclusion, caring for hydrangeas after planting is essential for establishing healthy, vibrant plants that will thrive for years to come. By following the guidelines outlined in this article you can provide the optimal growing conditions for your hydrangeas. You can also find more useful information about transplanting hydrangeas. Remember to tailor your care routine to the specific needs of your hydrangea variety and local climate. With a little attention and effort, you’ll be rewarded with stunning blooms and lush foliage, enhancing the beauty of your garden or landscape.
Frequently Asked Questions (FAQs) about Care for Hydrangeas
1. How often should I water newly planted hydrangeas?
Newly planted hydrangeas should be watered deeply and regularly, typically about 1-2 inches of water per week during the growing season. Monitor soil moisture levels and adjust watering frequency as needed based on weather conditions and soil type.
2. When is the best time to fertilize hydrangeas after planting?
It’s best to wait until the following spring after planting before applying fertilizer to hydrangeas. Use a balanced, slow-release fertilizer formulated for flowering shrubs, and follow the manufacturer’s instructions for application rates.
3. Can I order Holland hydrangeas from your online store?
Yes, we offer a wide selection of hydrangeas, including some varieties originating from the Netherlands, renowned for their quality and beauty. Our online store Dutch-bulbs.com features a diverse range of hydrangeas, including panicle hydrangeas, lacecap hydrangeas, and mophead hydrangeas, among others. Explore our collection to find the perfect hydrangea varieties for your garden or landscaping projects.
4. How do I know if my hydrangeas need pruning after planting?
Generally, hydrangeas don’t require pruning immediately after planting unless there are dead or damaged branches. Wait until after the first bloom cycle to assess pruning needs, and then prune selectively to shape the plant and remove any dead or diseased wood.
5. Do hydrangeas need mulch after planting?
Yes, applying a layer of organic mulch around the base of newly planted hydrangeas helps conserve moisture, suppress weeds, and regulate soil temperature. Use 2-4 inches of mulch, keeping it several inches away from the plant’s stems to prevent rotting.
Published: 19.04.2024

