When to Transplant Hydrangeas
If you have a hydrangea that is outgrowing its current location, it may be time to consider transplanting it to a new spot. Transplanting hydrangeas is not difficult, but timing is crucial.
- Benefits of Transplanting Hydrangeas
Transplanting hydrangeas can have several benefits. By moving the plant to a better location, you can ensure that it gets the sunlight, water, and nutrients it needs to thrive. You can also help to rejuvenate an older plant that may not be producing as many blooms as it used to.
- Appearance of Hydrangeas
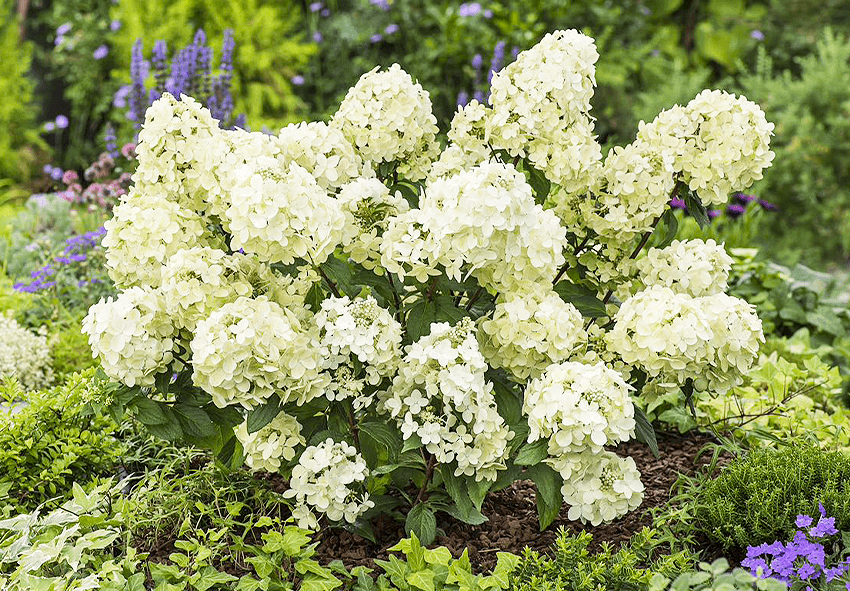
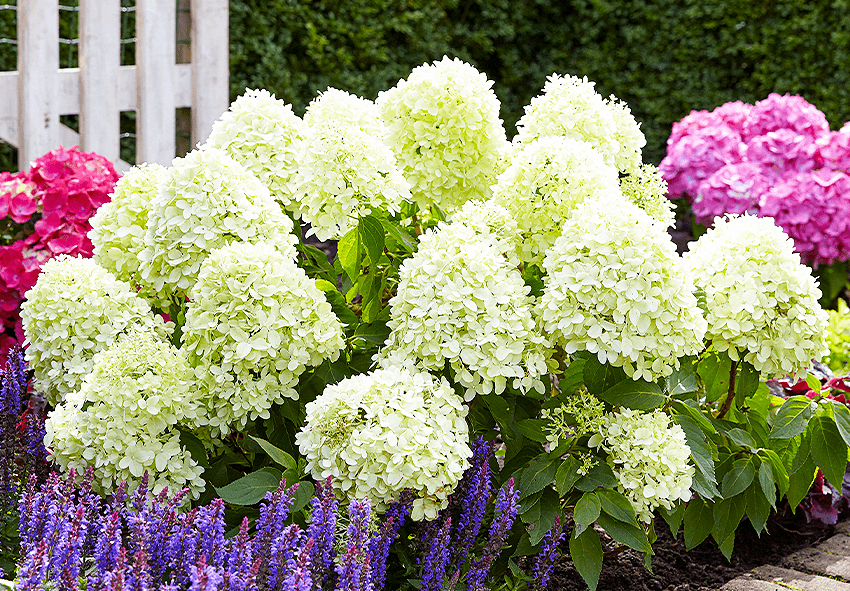
Hydrangeas are known for their large, colorful blooms that can range from white to pink to blue, depending on the pH of the soil. The plant itself can range in size from a small shrub to a tree, depending on the variety. Hydrangeas are a popular choice for both indoor and outdoor decoration, and they can add a splash of color to any space.
- Imagining Hydrangeas in Your Home or Garden
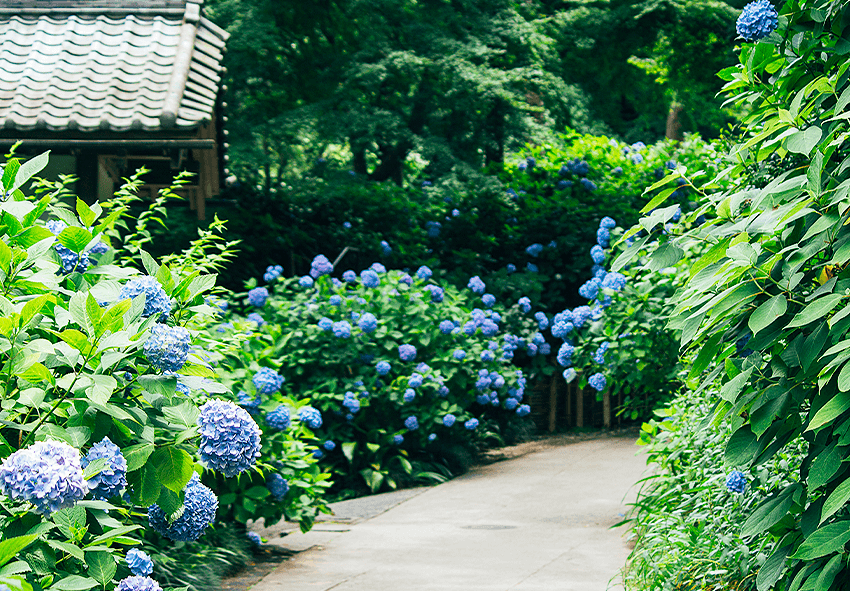
If you’re considering transplanting a hydrangea to your home or garden, it’s important to think about how it will fit into the space. Hydrangeas can be planted as a standalone shrub or grouped together for a more dramatic effect. They also make great cut flowers, so consider planting them near your home so you can enjoy them indoors as well.
Signs that it’s time to transplant
Hydrangeas are hardy plants, but they can outgrow their current location if they are not properly pruned. Some signs that it’s time to transplant your hydrangea include:
- The plant is too large for the space it’s in
- The plant is not producing as many blooms as it used to
- The plant is struggling to get enough sunlight or water in its current location
- The roots are becoming visible above the soil
If you notice any of these signs, it’s time to start planning to transplant your hydrangea.
Best time of year to transplant
Early spring or late autumn are the ideal times to transplant hydrangeas since these are the times when the plant is dormant. By transplanting at these times of year, the plant will have time to develop its roots before the summer or winter’s extreme temperatures. However, you may transplant hydrangeas at any time of the year if you reside in a moderate environment.
Preparing the new location
You must first prepare the new location for your hydrangea before transplanting it. Choose a location with plenty of sunlight and well-drained soil. Make a hole somewhat larger than the plant’s root ball. To give the plant a good start, add some compost or other organic matter to the soil. Before planting, thoroughly water the soil.
When you’re ready to transplant, carefully dig up the hydrangea, retaining as much of the root ball as possible. Place the plant in the new hole, making sure it’s at the same level as it was before. Fill the hole with soil and water thoroughly.
How to Transplant Hydrangeas
With their vivid colors and exquisite flowers, hydrangeas make a lovely addition to any garden or house. On the other hand, you may sometimes need to relocate your hydrangeas. Perhaps you’re moving to a new house or want to make a garden bed. Whatever the motivation, moving hydrangeas takes meticulous preparation and execution.
Gathering necessary tools and materials
Make sure you have all of the essential equipment and supplies before transplanting your hydrangeas. A sharp spade or shovel, a garden fork, a wheelbarrow, compost or well-rotted manure, and a watering can or garden hose are all required.
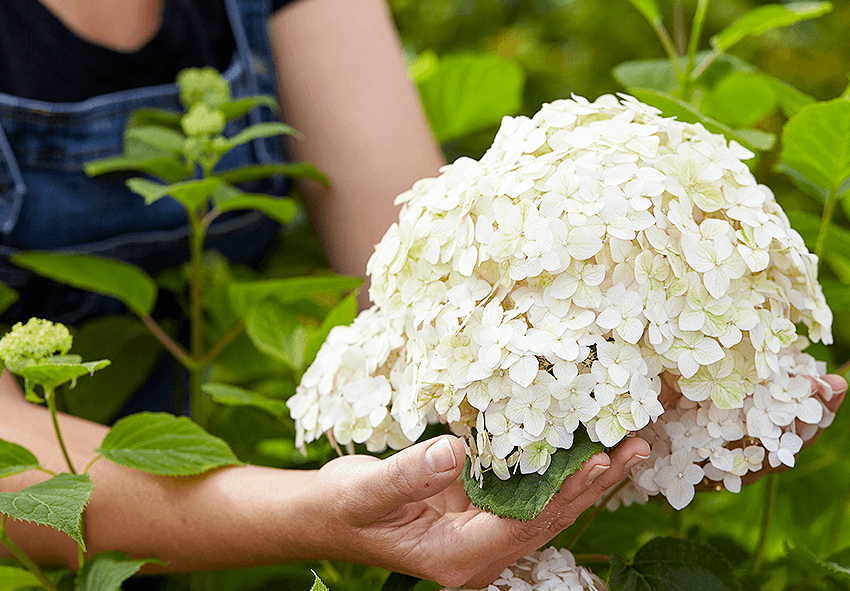
Preparing the hydrangea for transplant
Preparing the plant for the transfer is the first stage in transplanting hydrangeas. Begin by trimming the hydrangea branches by one-third. This will lessen the plant’s stress and make it simpler to manage.
Then, a day or two before you want to move the hydrangea, properly hydrate it. This will assist to moisten the plant and make digging simpler.
Digging up the hydrangea
When it comes time to dig up the hydrangea, make sure you do it at the appropriate time of year. When the plant is dormant, the optimum time to transplant hydrangeas is in the autumn or early spring. Avoid transplanting during the warmest part of the summer or during dry spells.
To dig up the hydrangea, begin by digging a circle around the plant about a foot away from the base using a spade or shovel. Then, carefully peel the plant out of the ground with a garden fork, taking careful not to harm the roots.
Planting the hydrangea in its new location
After you’ve dug out the hydrangea, plant it in its new place. Choose a location with well-draining soil and some shade. Make sure the hole is large enough to accommodate the plant’s root ball, then amend the soil with compost or well-rotted manure to help the plant settle in.
Backfill the hole with earth, ensuring sure the hydrangea is at the same level it was in its original placement. To assist maintain moisture, water the plant well and apply a layer of mulch around the base.
Watering and fertilizing the transplanted hydrangea
After transplanting, it’s important to keep the hydrangea well-watered. Water deeply once a week, or more frequently during periods of drought. You can also fertilize the plant with a balanced fertilizer in the spring and again in the fall.
Tips for Successful Transplanting
If you want to transplant hydrangea, you’re probably wondering when the optimum time is. Hydrangeas are a lovely addition to any garden, and if you want to relocate them, there are a few things to consider. Here are some helpful hints for a successful transplant:
Preparing the Soil in the New Location
Before transplanting your hydrangea, it’s important to prepare the soil for the new location. Hydrangeas thrive in well-drained soil with plenty of organic matter. You should aim to have a pH level between 5.0 and 6.5. If the soil is too alkaline, add sulfur to lower the pH level.
Proper Watering Techniques
Hydrangeas demand constant watering, particularly after transplanting. Water your hydrangeas thoroughly and regularly, but avoid overwatering, which may cause root rot. It’s very crucial to maintain the soil wet in the first several weeks after transplanting.
How to Protect the Hydrangea During the Transplant Process
It is important to treat hydrangea plants softly and with care while transplanting them. Dig up as much of the root ball as you can while avoiding injuring the roots. You may also cut the plant’s top growth to lessen the amount of stress on the roots.
To safeguard the hydrangea throughout the transplanting process, give shade for the first two weeks after transplanting. Shade cloth or a temporary shade structure made of posts and fabric might be used.
Keep in mind that the optimum time to transplant hydrangea is in the spring or autumn, when the weather is moderate and the soil is wet. By following these guidelines, you may assure a successful transplant and enjoy your lovely hydrangea in its new home.
Frequently Asked Questions (FAQs) about Hydrangeas Transplanting
1. When is the best time to transplant hydrangeas?
Transplanting hydrangeas is best done during their dormant season, which is typically in late fall or early spring. Late winter or early spring, just before new growth emerges, is an ideal time. This allows the plant to establish its roots before the stress of summer heat or winter cold. Avoid transplanting during hot summer months, as the heat can stress the plant. Remember to water the hydrangea well a few days before transplanting to ensure the soil is adequately moist.
2. How do I transplant hydrangeas successfully?
To transplant hydrangeas, start by digging a hole in the new location that’s twice the width and slightly deeper than the plant’s root ball. Carefully dig around the hydrangea’s root system, taking as much of the root ball as possible. Gently lift the plant out and place it in the prepared hole. Fill the hole with soil, ensuring the plant sits at the same depth as it did in its previous location. Water thoroughly after transplanting, and apply a layer of mulch to help retain moisture and regulate soil temperature. Keep the plant well-watered in the weeks following transplantation.
3. Can I order Holland hydrangeas from your online store?
Yes, you can order hydrangeas from our online store. We offer a variety of hydrangea species and cultivars to choose from, making it convenient for you to find the perfect hydrangea for your garden. Our online store provides detailed descriptions, care instructions, and shipping information to help you make an informed purchase. Ordering online allows you to have quality hydrangeas delivered directly to your doorstep, ensuring you receive healthy and well-cared-for plants.
4. Should I amend the soil before transplanting hydrangeas?
It’s generally a good practice to amend the soil when transplanting hydrangeas. Hydrangeas prefer well-draining, slightly acidic soil. Incorporate organic matter like compost or peat moss into the soil to improve its structure and acidity. This will create an optimal environment for your hydrangea’s roots to thrive. It’s essential to prepare the soil in the new planting location to provide the best possible growing conditions for your hydrangea.
5. How can I ensure my transplanted hydrangea thrives?
To ensure the success of your transplanted hydrangea, monitor its water needs carefully, especially during the first year after transplanting. Keep the soil consistently moist but not waterlogged. Provide some shade or protection from harsh afternoon sun, especially in warmer climates. Pruning should be done sparingly in the first year to reduce stress on the plant. Continue to mulch to help retain moisture and protect the roots from extreme temperatures. With proper care, your transplanted hydrangea should establish itself and flourish in its new location.
Published: 20.04.2023