Papaver, commonly known as poppies, are beloved for their vibrant blooms and delicate, tissue-paper-like petals. Planting Papaver bulbs is an excellent way to introduce these striking flowers into your garden, offering a burst of color and charm. This guide will walk you through the essentials of planting Papaver bulbs, from understanding the different varieties to mastering the timing and techniques needed for successful growth. Our blog is a perfect place to find all the information you need.
What Are Papaver Bulbs?

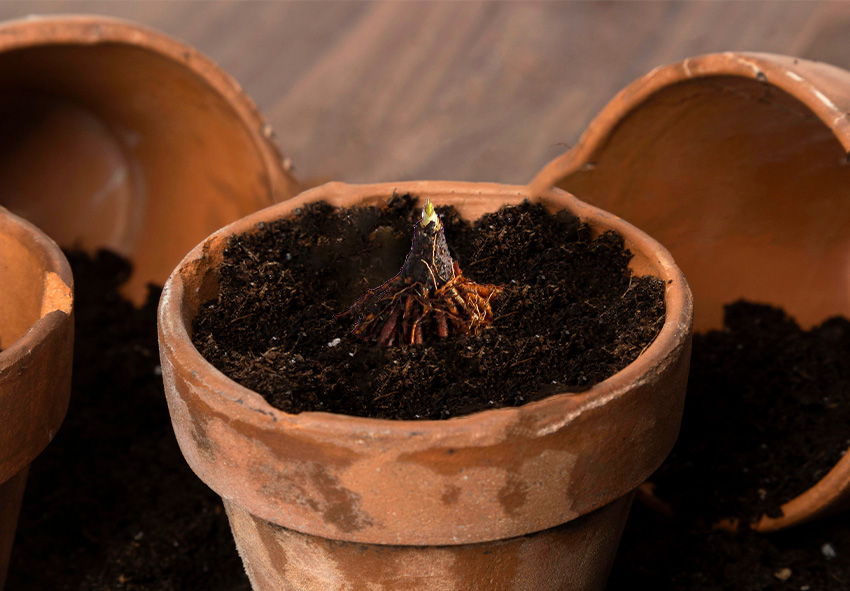
Papaver bulbs are the underground storage organs of poppy plants. Unlike true bulbs, Papaver bulbs are actually tubers or rhizomes, which store nutrients that help the plant survive through dormant periods. These bulbs are typically planted in the fall or spring, depending on the variety, to ensure they bloom at the right time. Papaver bulbs are known for their hardiness and ability to thrive in a variety of soil conditions, making them a versatile choice for gardeners.
Popular Varieties of Papaver
There are several popular varieties of Papaver, each with unique characteristics that make them suitable for different garden settings. Here are a few notable ones:
- Papaver orientale (Oriental Poppy): Known for its large, showy flowers and long-lasting blooms, Oriental Poppies come in a range of colors, including red, pink, orange, and white. They are hardy and prefer well-drained soil and full sun.
- Papaver somniferum (Opium Poppy): Often grown for its ornamental value, this variety has beautiful, large flowers in shades of pink, purple, red, and white. It thrives in full sun and well-drained soil.
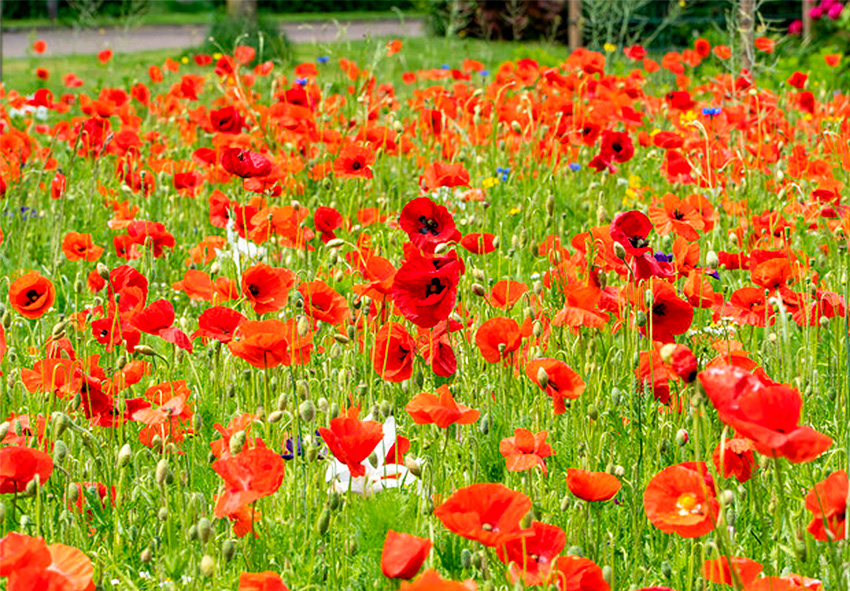
- Papaver rhoeas (Common Poppy): Also known as the Flanders Poppy, this variety is famous for its bright red flowers with black centers. It’s commonly used in wildflower meadows and remembrance gardens.
- Papaver nudicaule (Iceland Poppy): Ideal for cooler climates, Iceland Poppies have delicate, crepe-paper-like flowers in vibrant hues of yellow, orange, and white. They prefer full sun and well-drained soil.
By selecting the right variety of Papaver for your garden, you can enjoy a stunning display of flowers that suit your specific climate and aesthetic preferences.
Best Seasons for Planting Papaver Bulbs

The best time to plant Papaver bulbs largely depends on the specific variety and your local climate. Generally, the optimal seasons for planting are spring and fall.
- Spring Planting
Spring is an ideal time for planting poppy bulbs in regions with harsh winters. This gives the bulbs enough time to establish roots before the growing season begins. Plant as soon as the soil can be worked, usually after the last frost.
- Fall Planting
Fall planting is suitable for areas with milder winters. Planting in the fall allows the bulbs to establish roots during the cooler months and bloom in the spring. Aim to plant the bulbs 6 to 8 weeks before the first expected frost.
Regional Considerations
Planting times can vary based on your specific climate zone and regional conditions. Adjusting your planting schedule according to local weather patterns can significantly impact the success of your Papaver bulbs.
- Northern Regions: In cooler northern climates, spring planting is typically preferred due to the harsh winters. Ensure the ground has thawed and the risk of frost has passed before planting.
- Southern Regions: In warmer southern climates, fall planting is often more successful. The milder winters allow bulbs to establish roots without the risk of freezing. However, be mindful of the summer heat, which can stress young plants if planted too late in the spring.
- Coastal Regions: Coastal areas with moderate temperatures year-round can generally plant Papaver bulbs either in the fall or spring. The key is to ensure the bulbs are planted early enough to establish roots before extreme weather conditions.
By considering these regional factors, you can optimize your planting schedule to suit your specific garden environment, ensuring robust and vibrant poppy blooms.
Techniques for Planting Papaver Bulbs

Planting Papaver bulbs, commonly known as poppy bulbs, is a rewarding endeavor for any gardener. These beautiful, vibrant flowers add a burst of color to any garden and are relatively easy to grow with the right techniques. In this section, we will cover essential soil preparation, proper planting depth and spacing, and step-by-step instructions to ensure your Papaver bulbs thrive. By following these guidelines, you’ll set the stage for a stunning display of poppies that will brighten your garden for seasons to come.
Preparing the Soil
Proper soil preparation is crucial for the successful growth of Papaver bulbs. These plants prefer well-drained soil with a slightly acidic to neutral pH, ideally between 6.0 and 7.0. Begin by loosening the soil in the planting area to a depth of about 12 inches. This allows the roots to penetrate deeply and access nutrients. If your soil is heavy clay, consider amending it with sand or organic matter such as compost to improve drainage and soil structure. For sandy soils, adding compost can help retain moisture and provide essential nutrients.
Planting Depth and Spacing
Planting depth and spacing are key factors that influence the health and bloom of Papaver bulbs. Generally, bulbs should be planted at a depth of about 2 to 3 times their height. For most Papaver bulbs, this means planting them about 4 to 6 inches deep. Spacing between bulbs is also important to ensure adequate air circulation and prevent overcrowding. Space the bulbs approximately 6 to 8 inches apart to give each plant enough room to grow and spread.
Step-by-Step Planting Process
Planting Papaver bulbs is a straightforward process if you follow these steps:
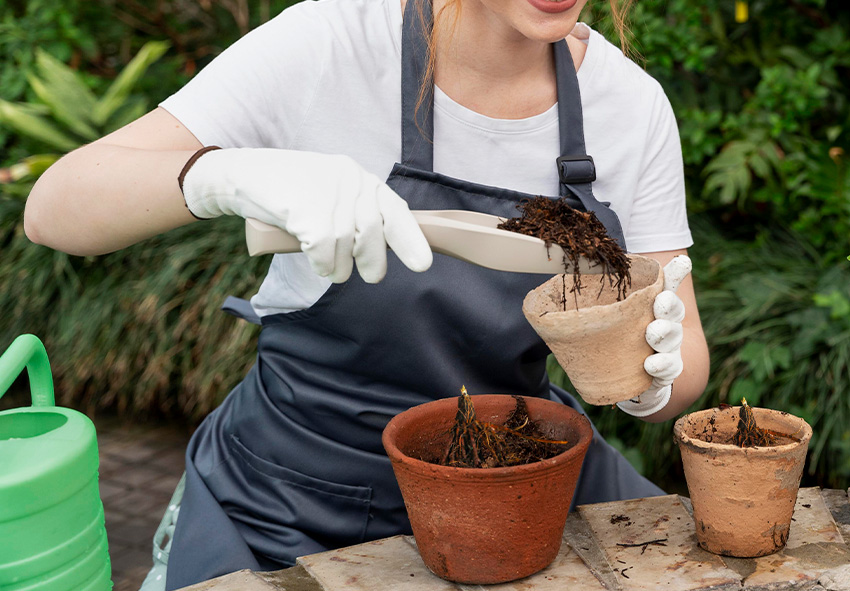
- Digging Holes: Start by digging individual holes for each bulb. Ensure each hole is deep enough, about 4 to 6 inches, and wide enough to comfortably accommodate the bulb.
- Positioning the Bulbs: Place the bulb in the hole with the pointed end facing upwards. This ensures that the emerging shoots grow correctly towards the surface.
- Covering with Soil: Gently cover the bulbs with soil, filling the hole and lightly firming the soil to eliminate air pockets. Be careful not to press too hard, as this can compact the soil and hinder root growth.
- Watering: After planting, water the area thoroughly. This initial watering helps settle the soil around the bulbs and provides essential moisture to kickstart the growth process. Maintain consistent soil moisture, especially during dry periods, but avoid overwatering, which can lead to bulb rot.
By following these planting techniques, you can ensure that your Papaver bulbs have the best possible start, leading to a vibrant and healthy display of poppies in your garden.
Mulching and Protecting Papaver

Mulching is an essential practice for maintaining healthy Papaver plants. By applying a layer of mulch around your Papaver, you help retain soil moisture, which is crucial for the bulbs, especially during dry spells. Mulch also plays a vital role in suppressing weeds that compete for nutrients and water, thus reducing the need for frequent weeding. Additionally, mulch helps regulate soil temperature, keeping it cooler in the summer and warmer in the winter, which creates a more stable environment for your Papaver bulbs to thrive.
Types of Mulch to Use
When it comes to choosing the best mulch for Papaver, organic mulches are often the most beneficial:
| Mulch Type | Description | Benefits | Drawbacks |
| Shredded Bark | Long-lasting mulch made from tree bark | Excellent weed suppression, good moisture retention, slow decomposition enriches soil over time | Can be more expensive, may attract insects |
| Compost | Decomposed organic matter, rich in nutrients | Improves soil fertility, enhances moisture retention, provides nutrients as it breaks down | Needs to be replenished more frequently, can attract pests if not well-decomposed |
| Straw | Lightweight, organic mulch made from the stalks of grains | Easy to spread, effective moisture retention, provides good insulation against temperature changes | Breaks down quickly, can blow away in windy conditions, may harbor weed seeds |
Whichever type you choose, apply a 2-3 inch layer around the base of the plants, taking care not to pile it directly against the stems to prevent rot.
Protecting from Pests and Diseases
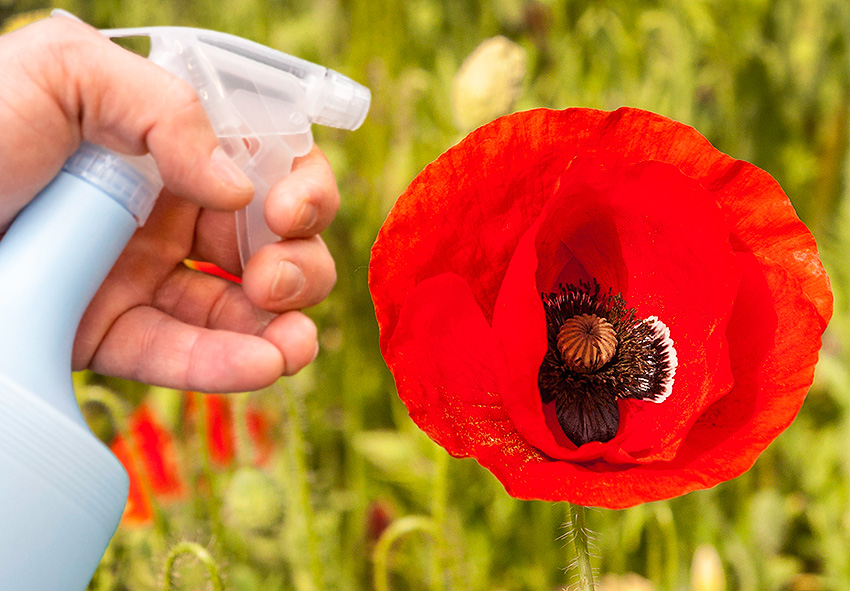
Protection from Papaver pests and diseases is crucial for maintaining healthy plants. Common pests that may affect Papaver include aphids, slugs, and snails. Regularly inspect your plants and remove any visible pests by hand or use organic insecticides if necessary. To deter slugs and snails, you can use barriers like crushed eggshells or copper tape around the base of the plants.
For disease prevention, ensure your Papaver has good air circulation and avoid overhead watering, which can lead to fungal diseases like powdery mildew. Removing and disposing of any infected plant material promptly can help prevent the spread of diseases. Additionally, practicing crop rotation and not planting Papaver in the same spot year after year can reduce the risk of soil-borne diseases.
By incorporating these mulching and protection strategies, you can create a healthier growing environment for your Papaver plants, ensuring they remain vibrant and beautiful throughout the growing season.
Conclusion
Planting Papaver bulbs can be a delightful addition to your garden, offering vibrant blooms that are sure to captivate. By following the timing and techniques outlined in this guide, you can ensure successful growth and a stunning display of poppies. From understanding the optimal planting seasons and preparing the soil to implementing proper planting techniques and protective measures, each step is designed to help you achieve a thriving Papaver garden. Embrace these methods, and soon you’ll enjoy the beauty and charm that Papaver brings to your outdoor space.
Frequently Asked Questions (FAQs) about Planting Papaver Bulbs
1. When is the best time to plant Papaver bulbs?
The optimal time to plant Papaver bulbs is in the fall or early spring, depending on your local climate. This allows the bulbs to establish roots before the growing season. Planting during these times helps the bulbs acclimate to the soil temperature and conditions.
2. Can I order Holland Papaver from your online store?
Yes! At our online store Dutch-bulbs.com, we offer a wide selection of Papaver plants, including varieties sourced from Holland. We take pride in offering high-quality plants sourced from reputable growers, ensuring that you receive healthy and vibrant specimens for your garden.
3. What soil conditions do Papaver bulbs prefer?
Papaver bulbs thrive in well-drained soil with a slightly acidic to neutral pH (6.0-7.0). Amending heavy clay soil with sand or organic matter can improve drainage. Ensuring proper soil conditions promotes healthy root development and vibrant blooms.
4. How deep and far apart should I plant Papaver bulbs?
Plant Papaver bulbs about 4 to 6 inches deep and space them 6 to 8 inches apart to ensure proper growth and air circulation. Proper spacing reduces the risk of disease and allows each plant to access sufficient nutrients.
5. What type of mulch is best for Papaver bulbs?
Organic mulches such as shredded bark, compost, and straw are excellent choices. These mulches help retain moisture, suppress weeds, and improve soil fertility. Additionally, organic mulches decompose over time, further enriching the soil with essential nutrients.
Published: 30.05.2024
