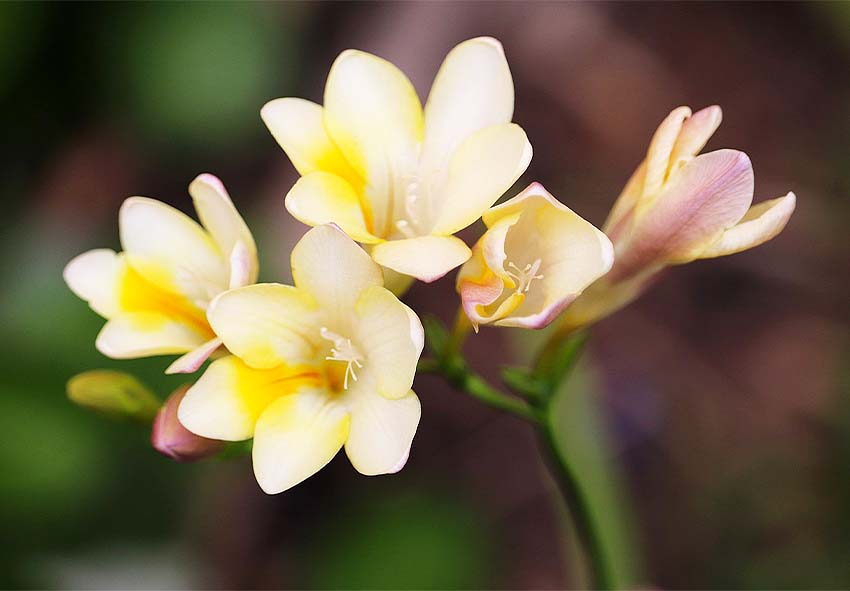
Freesias are a favorite among gardeners, known for their vibrant colors, sweet fragrance, and elegant arching stems. These flowers make a stunning addition to any garden or indoor space, thriving equally well in pots or flower beds. Their ability to bloom in a variety of hues, from soft pastels to bright tones, makes them a versatile choice for gardeners.
Proper care after planting is crucial to ensure your Freesias grow strong and healthy, rewarding you with weeks of beautiful blooms. Neglecting their needs during this phase can lead to weak plants and diminished flowering potential. In this guide, we’ll cover everything you need to know about caring for Freesias after planting to keep them thriving. Our gardening blog is a perfect place to find all the information you need!
Freesia Care Essentials After Planting

Adjusting to their new environment is a critical phase for Freesias. Once planted, these bulbs need time to establish roots and adapt to the soil and climate. During this period, providing stable conditions and consistent care is essential for success.
Key factors for healthy Freesia growth include adequate watering, nutrientrich soil, and optimal sunlight. Freesias also thrive when planted in welldraining soil to prevent root rot and diseases. Balancing these elements helps the plant develop strong stems and vibrant blooms while minimizing the risk of pests or diseases.
Watering Freesias After Planting
Water is vital for Freesias, especially during their early growth stage, but overwatering can be detrimental. Finding the right balance ensures the roots receive enough moisture without becoming waterlogged.
Best practices for watering frequency
Freesias should be watered lightly after planting to encourage root development. Once shoots appear, maintain consistent moisture in the soil, but avoid waterlogging. Watering once or twice a week is usually sufficient, depending on your local climate and soil drainage. During hotter periods, monitor the soil more frequently to prevent drying out.
Signs of overwatering or underwatering
Overwatering is one of the most common mistakes gardeners make with Freesias. Too much water can suffocate the roots and create conditions for rot and fungal diseases. Look out for these signs to determine if your Freesias are being overwatered:
- Yellowing leaves – Leaves turn yellow and feel soft or mushy.
- Wilting despite wet soil – The plant wilts even though the soil feels damp.
- Mushy bulbs – Bulbs become soft and may emit a foul odor.
- Mold or fungus – Growth of white mold or other fungi on the soil surface.
On the other hand, underwatering can stress Freesias, leading to weak growth and fewer blooms. This happens when the plant doesn’t receive enough moisture to sustain its needs. Watch for these indicators of underwatering:
- Dry, brittle leaves – Leaves dry out, becoming crispy and brown at the tips.
- Drooping stems – Stems and foliage lose rigidity and appear limp.
- Soil pulling away from the pot edges – Soil becomes overly dry and shrinks, leaving gaps in containers.
- Reduced blooming – Fewer flowers appear, or buds fail to open.
Recognizing these signs early can help you adjust your watering routine and bring your Freesias back to health!
Sunlight and Temperature Needs
Freesias are sun-loving plants that flourish in bright environments, making sunlight a critical factor in their growth and blooming. Striking the right balance between sunlight and temperature ensures that Freesias grow healthy stems, vibrant flowers, and strong bulbs for the next season. Understanding their natural habitat provides valuable insight into their needs.
Ideal sunlight exposure for Freesias
Plant Freesias in a spot where they receive full morning sun and partial afternoon shade. If grown indoors, place pots near a bright, southfacing window. Sunlight helps the plant produce energy for growth and flowering, so avoid overly shaded areas that may limit blooming.
Managing temperature fluctuations
Freesias prefer mild temperatures between 6070°F (1521°C). Protect them from frost in colder climates and provide shade during hot summer afternoons to prevent stress. Mulching around the base of the plants can help regulate soil temperature and retain moisture during temperature swings.
Fertilizing Freesias

Fertilizers play an essential role in Freesia care, supplying the nutrients needed for lush growth and vivid blooms. These nutrients also help the plant build strong stems and healthy foliage.
When to start fertilizing after planting
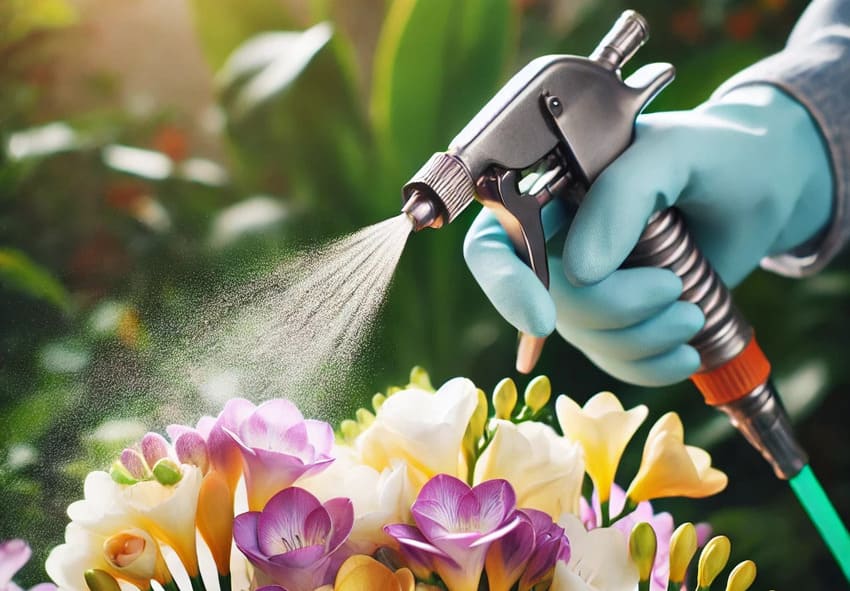
Start fertilizing Freesias once the first leaves appear. This is when the plant begins active growth and requires extra nutrients for photosynthesis and development. Avoid fertilizing immediately after planting, as the bulbs need time to settle and sprout before absorbing nutrients effectively.
Recommended fertilizers for Freesias
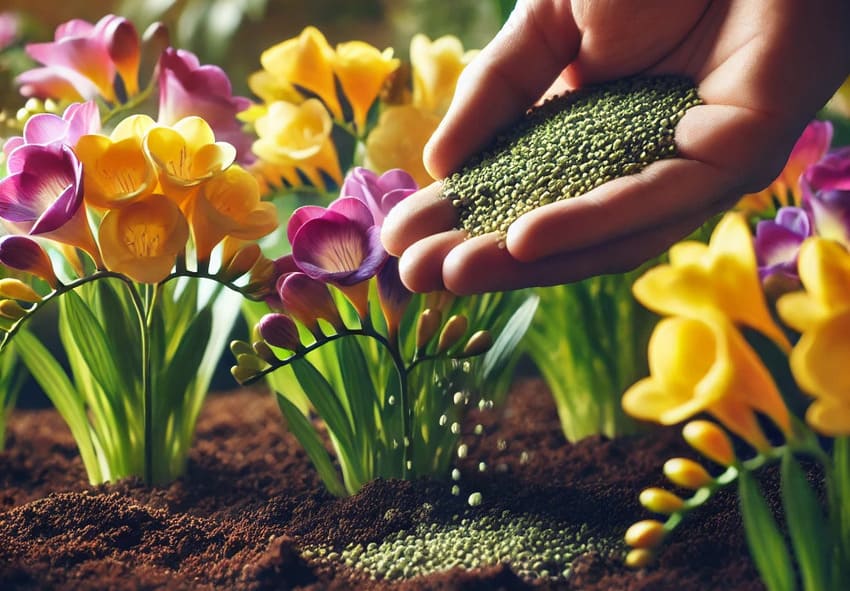
Use a balanced, watersoluble fertilizer with equal parts nitrogen, phosphorus, and potassium. Alternatively, you can apply a lownitrogen bulb fertilizer to encourage flower production over leafy growth. Organic options like compost tea or fish emulsion can also be beneficial for gentle feeding.
Tips for avoiding fertilizer burn
Fertilizer burn occurs when plants receive too much fertilizer or the wrong type, causing damage to roots and foliage. Follow these tips to prevent it and ensure your Freesias get the nutrients they need without harm:
- Dilute fertilizers properly – Always follow the manufacturer’s instructions for dilution ratios. Too concentrated a solution can harm the plant.
- Water before fertilizing – Apply fertilizer to moist soil to reduce the risk of burning roots. Dry soil can cause the fertilizer to concentrate around the roots.
- Use slow-release fertilizers – These products release nutrients gradually, preventing overfeeding and minimizing the risk of burns.
- Avoid over-fertilizing – Stick to the recommended feeding schedule. Feeding too often or in excessive quantities can overload the plant with nutrients.
- Choose the right fertilizer – Use a fertilizer formulated for bulbs or flowering plants, preferably one with low nitrogen to encourage blooms rather than excessive foliage.
- Flush the soil periodically – If using synthetic fertilizers, water deeply every few weeks to flush out excess salts that can accumulate and damage the roots.
- Spread fertilizer evenly – Distribute fertilizer around the plant’s base, avoiding direct contact with leaves, stems, or bulbs.
- Use organic fertilizers carefully – While generally safer, organic fertilizers can still cause burns if overapplied. Follow dosage guidelines.
Supporting Freesias
Freesias may require additional support to maintain their upright, graceful appearance. As their tall, slender stems and heavy blooms can cause bending or topple over. Supporting the plants not only improves their aesthetics but also prevents damage to the stems and roots. Providing support early, as the plant grows, is better than correcting it later. Find more tips for supporting your plants in our comprehensive guide for Freesias.
How to stake Freesias properly
Staking Freesias ensures their tall, slender stems remain upright, especially as they begin to bloom. Here are five steps to stake your Freesias effectively:
- Choose the right stakes – Use thin bamboo stakes, metal plant supports, or wooden dowels that are tall enough to support the full height of the plant.
- Insert stakes early – Place stakes into the soil when the plant is still young to avoid damaging mature roots. Position them a few inches away from the bulb.
- Use soft ties – Secure the stems to the stakes with soft plant ties, string, or twist ties. Avoid tight knots that could cut into the stems as the plant grows.
- Adjust ties as the plant grows – Check and adjust the ties regularly to provide ongoing support as the plant increases in height and blooms.
- Space stakes appropriately – For grouped plantings, use a network of stakes and ties to support multiple stems at once, ensuring they stay upright without overcrowding.
When and how to deadhead blooms
Deadheading spent blooms redirects the plant’s energy toward bulb and root development rather than seed production. Remove faded flowers promptly by cutting the stem just above the nearest healthy leaf. Deadheading also encourages a cleaner, more attractive appearance.
Benefits of pruning for extended blooming
Regular pruning encourages Freesias to produce more flowers over an extended period. Remove any yellowing leaves or withered blooms to keep the plant healthy and tidy. Pruning also helps to reduce the risk of pests or fungal infections settling on dead plant material.
What to do if Freesias fail to bloom
If Freesias fail to bloom, assess their sunlight exposure, soil quality, and watering practices. Ensure the bulbs were planted at the correct depth and aren’t overcrowded, as this can restrict flowering. Replacing old bulbs with fresh, healthy ones can also rejuvenate your Freesia display.
Tips for Longlasting Freesias

To enjoy your Freesias’ vibrant and fragrant blooms for as long as possible, it’s essential to follow proper care techniques. Here are the best practices to extend their blooming period:
- Deadhead regularly – Remove spent flowers promptly to encourage the plant to produce new blooms rather than diverting energy into seed production. Deadheading also keeps the plant looking tidy and reduces the risk of pests or diseases settling on withered blooms.
- Water consistently – Keep the soil evenly moist but not waterlogged, as inconsistent watering can stress the plant and reduce blooming time. Sudden dry spells may cause the plant to drop its blooms prematurely. Check the soil frequently, especially in hot or windy weather, to maintain optimal moisture levels.
- Provide balanced nutrients – Use a low-nitrogen, high-potassium fertilizer during the flowering period to support prolonged and healthy blooms. Potassium helps strengthen stems and enhances flower production, while too much nitrogen can lead to excessive foliage at the expense of flowers.
- Ensure adequate sunlight – Place Freesias in a location where they receive plenty of bright, indirect sunlight, which fuels energy for sustained flowering. Too much shade can lead to weak, leggy growth and fewer blooms.
- Protect from extreme temperatures – Maintain an ideal range of 60-70°F (15-21°C) and shield the plants from harsh heat or frost, as temperature fluctuations can shorten bloom life. During particularly hot days, consider providing temporary shade to prevent wilting. In cooler climates, use row covers or mulch to protect against unexpected frost.
- Support stems – Use stakes or supports to keep flowers upright, preventing stem breakage that could prematurely end blooming. Freesias with heavy flower clusters are particularly prone to bending or snapping under their weight.
Companion plants to grow alongside Freesias
Freesias pair beautifully with other sunloving plants like tulips, daffodils, and crocuses. These companions create a vibrant spring display and share similar care requirements. Adding a mix of flowering times ensures a continuous show of blooms throughout the growing season.
Conclusion
Caring for Freesias after planting doesn’t have to be complicated. By providing the right combination of water, nutrients, sunlight, and support, you’ll enjoy healthy plants and an abundance of stunning flowers. With consistent attention to their needs, Freesias can thrive and bring joy to your garden or home for years.
With their brilliant colors and fragrant blooms, Freesias are a rewarding addition to any garden or indoor space. Start your Freesia journey today and experience the joy of cultivating these elegant flowers!
Frequently Asked Questions (FAQs) about Care for Freesias
1. How often should I water Freesias after planting?
Water lightly immediately after planting to help establish roots. Once shoots appear, maintain consistent soil moisture by watering 1-2 times per week, depending on climate and soil drainage. Check the top 2 inches of soil; if it feels dry, it’s time to water. Avoid overwatering, as Freesias dislike soggy conditions.
2. When should I start fertilizing my Freesias?
Begin fertilizing Freesias once the first leaves emerge, signaling active growth. Use a balanced or low-nitrogen fertilizer to encourage healthy flowers rather than excessive foliage. Avoid fertilizing immediately after planting, as the bulbs need time to establish roots. Feed every 2-3 weeks during the growing season for best results.
3. How can I order Holland freesia from your online store?
Ordering Holland freesia from our online store Dutch-bulbs.com is simple and convenient. Visit our website and browse our selection of freesia varieties, including those sourced from Holland for their exceptional quality and beauty. Once your order is confirmed, our team will carefully pack your bulbs, ensuring they arrive fresh and ready for planting.
4. How much sunlight do Freesias need?
Freesias thrive in full to partial sunlight, ideally 6-8 hours of bright, indirect light daily. Morning sun is preferable, as it’s less intense than afternoon rays. For potted Freesias indoors, place them near a south-facing window or under grow lights. Avoid placing them in areas with too much shade, which reduces blooming.
5. What are the ideal temperature conditions for Freesias?
Freesias prefer mild temperatures between 60-70°F (15-21°C). Protect them from frost, as freezing temperatures can damage bulbs and foliage. Similarly, avoid exposing them to extreme heat, which can stress the plant. Mulching around the base helps regulate soil temperature, keeping the environment stable during sudden fluctuations.
Published: 03.12.2024
