A glass-enclosed arrangement featuring the exquisite blossoms of the amaryllis flower is a highly admired and widely embraced decorative option. This display offers an exceptional opportunity to revel in the vivid hues and graceful structure of the plant, while also introducing a touch of nature’s elegance to your indoor environment.
The amaryllis, scientifically known as Hippeastrum, is a bulbous flowering plant that originates from South America. Its remarkable, trumpet-shaped flowers display a splendid assortment of colors, including red, pink, white, and orange. The amaryllis is often synonymous with the winter holiday season and remains a favored selection for festive embellishments.
By placing an amaryllis in a glass container, you create a distinctive presentation that highlights the flower’s magnificence. Submerging the bulb partially in water within the transparent vessel enables you to witness the growth of the roots and the enchanting unfurling of the blooms.
Amaryllis in a glass: a charming addition to your indoor garden
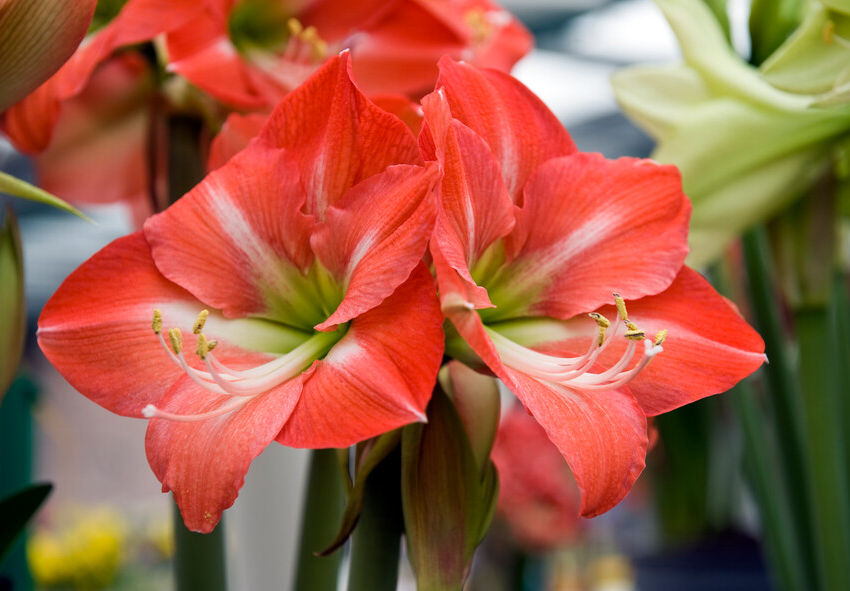
The presence of an amaryllis within a glass enclosure undeniably contributes to the allure of your indoor botanical collection. Amaryllis plants, renowned for their remarkable blossoms, are frequently cultivated indoors to showcase their lively flowers throughout the winter season. The act of situating them within a glass container imparts an additional element of sophistication, while simultaneously affording you the opportunity to closely monitor the development of the plant’s roots.
Researching the species: understanding the differences and characteristics
Amaryllis is a popular flowering plant known for its striking and vibrant blooms. It belongs to the Amaryllidaceae family and the genus Hippeastrum. While there are various species and hybrids of amaryllis, the commonly grown ones are typically hybrids resulting from crosses between different species. Let’s explore some characteristics and differences among the various amaryllis species:
- Hippeastrum puniceum: This species is native to the tropical regions of South America, particularly Brazil. It features large trumpet-shaped flowers with bright red or scarlet petals. The flowers are borne on a tall, sturdy stem.
- Hippeastrum reginae: Also known as the Queen Amaryllis, this species is native to the grasslands of South Africa. Its flowers are large and showy, with white or pink petals adorned with crimson veins. The blooms are borne on a tall stem.
- Hippeastrum vittatum: Native to the coastal areas of Brazil and Uruguay, this species produces flowers with a white or pale pink background color, highlighted by red or dark pink stripes on each petal. The blooms are held on tall stems.
- Hippeastrum reticulatum: This species, also called the Leopard Amaryllis, is found in Brazil and Uruguay. Its flowers have a white or pale pink base color with red or maroon veins that form intricate net-like patterns on the petals.
- Hippeastrum papilio: Native to Peru, this species is commonly referred to as the Butterfly Amaryllis due to its unique flower shape. The blooms have narrow, elongated petals resembling the wings of a butterfly. They are predominantly greenish-white with burgundy or purplish-brown markings.
These are just a few examples of amaryllis species, and there are many more available. When growing amaryllis in a glass, it’s essential to select a bulb or hybrid that is suitable for forcing indoors. Amaryllis bulbs typically require a period of dormancy before they can be forced to bloom again. However, certain specially prepared bulbs can be grown in water or soil in a glass vase, without a dormancy period, to produce beautiful flowers.
Caring for amaryllis in a glass: important tips for successful growth
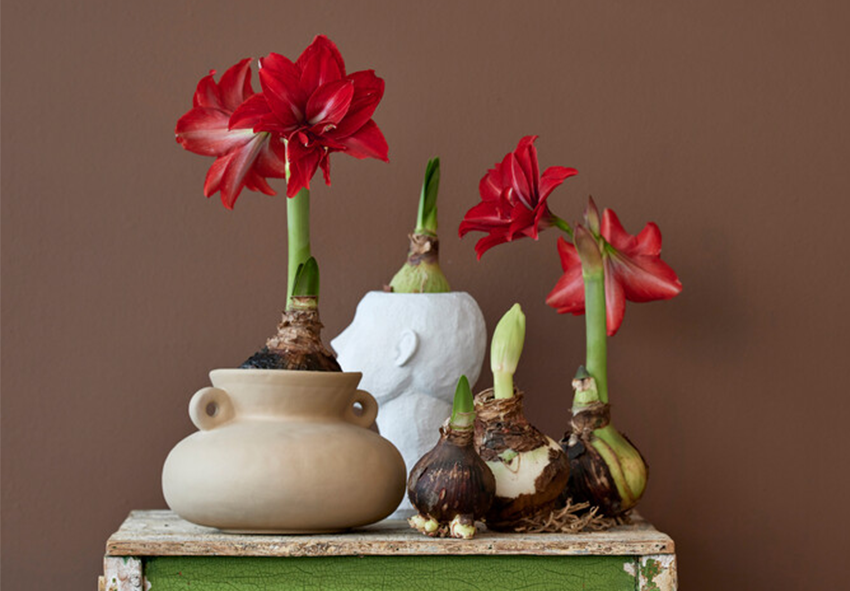
Caring for an amaryllis in a glass can be a delightful way to enjoy the beauty of this flowering plant. Here are some important tips to help you achieve successful growth:
- Watering: Water the bulb thoroughly after planting to settle the soil. Be careful not to overwater, as amaryllis bulbs are susceptible to rot. Allow the soil to dry slightly between watering sessions, but ensure it doesn’t become bone dry.
- Placement and sunlight: Place the glass container in a bright location that receives indirect sunlight. Amaryllis plants thrive in bright light, but direct sunlight can be too intense and lead to sunburn. Rotate the container occasionally to promote even growth.
- Temperature and humidity: Amaryllis prefers temperatures between 60-75°F (15-24°C). Avoid placing the glass container near cold drafts or heat sources. Maintain moderate humidity levels to prevent the bulb from drying out.
- Fertilization: Feed the amaryllis bulb with a balanced, water-soluble fertilizer diluted to half strength once every two weeks during active growth. Discontinue fertilization after the flowering period is over.
- Support for the flower stalk: As the amaryllis begins to grow, it may require support for its tall flower stalk. Insert a stake or provide a decorative support ring around the stem to prevent bending or breaking.
- Flowering and dormancy: Amaryllis bulbs typically take 6-8 weeks to bloom. Once the flowers have faded, cut off the spent flower stalk but allow the leaves to continue growing. During this period, continue watering and fertilizing the bulb to support its growth.
By following these tips, you can create a suitable environment for your amaryllis bulb to flourish in a glass container. Enjoy the vibrant blooms and the beauty it adds to your space!
Planting amaryllis in glass: step-by-step instructions for a beautiful display
Planting an amaryllis bulb in a glass is a unique and visually appealing way to grow this beautiful flowering plant. Here are step-by-step instructions on how to plant an amaryllis bulb in a glass:
- Look for a healthy and firm bulb that is free from any signs of damage or disease. The bulb should be large and plump, indicating its potential for growth and flowering.
- Place a layer of decorative stones, pebbles, or marbles at the bottom of the glass container. This will help create a drainage layer and prevent the bulb from sitting in excess water.
- Place the amaryllis bulb on top of the decorative stones, ensuring that the pointed end faces upwards. The bulb should rest partially above the stones.
- Gently fill the glass container with potting soil or moist sphagnum moss, leaving the top one-third of the bulb exposed. Avoid covering the bulb completely as it needs access to light and air.
- After planting, give the bulb a good watering, ensuring that the soil or moss is evenly moist but not overly saturated. Be cautious not to water directly onto the exposed bulb as this can cause rot.
- Position the glass container in a bright area with indirect sunlight. Amaryllis bulbs require bright light to thrive and grow properly. Avoid placing it in direct sunlight as it can cause the bulb to overheat.
Remember to follow any specific care instructions that may come with your amaryllis bulb variety, as different cultivars may have slightly different requirements. Enjoy the process of watching your amaryllis bulb grow and flourish in its glass container!
Pruning amaryllis in glass: techniques for healthy growth and care
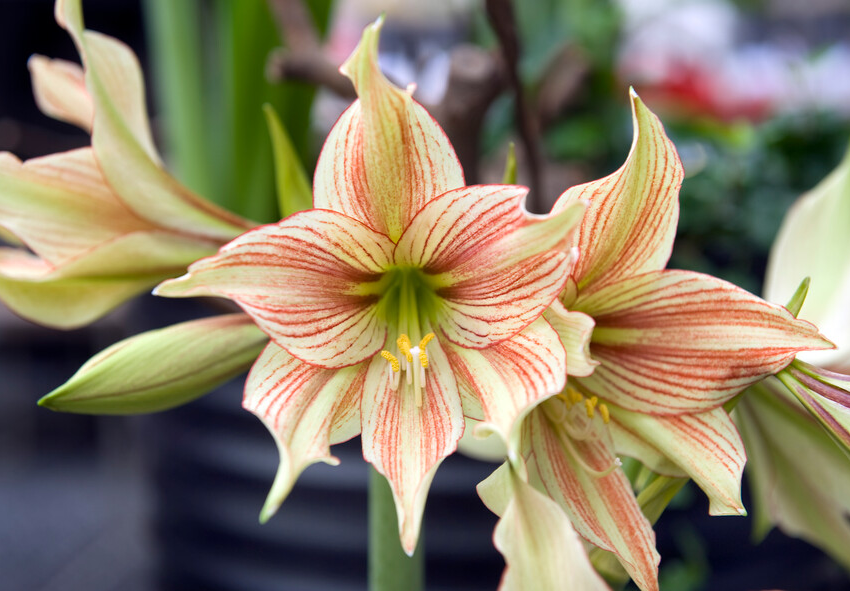
Pruning amaryllis plants grown in glass is generally not necessary or recommended. Amaryllis plants are known for their attractive flowers and are typically grown for their ornamental value. Pruning is typically done on plants to promote new growth, control size, or remove damaged or dead foliage. However, with amaryllis plants, it’s best to allow the foliage to grow and mature naturally, as it plays a vital role in storing energy for the next blooming cycle.
Propagating amaryllis in glass: unlocking the secrets of propagation
Propagating amaryllis in glass can be a fascinating and visually appealing way to grow these beautiful flowering plants. The method commonly used for propagating amaryllis in glass involves water propagation or forcing the bulb to bloom without soil. Select a large, healthy bulb that is free from any signs of damage or disease. The bulb should have a good amount of stored energy to support the growth of new shoots and roots.
Select a clear glass container that is tall enough to accommodate the bulb and allow space for root growth. Ensure the container is clean and free from any residue that could contaminate the water. Pour enough water into the glass container to cover the bottom portion of the bulb, leaving the upper part exposed. The water level should be just below the base of the bulb, allowing the roots to grow into the water without submerging the entire bulb. Gently position the bulb in the glass container, ensuring that the water level is as mentioned in the previous step. The bulb should be positioned with the pointed end facing up and the flat, basal end in contact with the water.
Then place the glass container in a well-lit area that receives bright, indirect sunlight. Amaryllis bulbs require a temperature range of around 60-70°F (15-21°C) for optimal growth. Avoid exposing the bulb to direct sunlight or extreme temperatures. Regularly check the water level in the glass container and ensure it remains at the appropriate level, just below the base of the bulb. Add water as needed to maintain the level.
Over time, you should see roots emerging from the basal end of the bulb and growing into the water. Shoots will also emerge from the upper part of the bulb. Keep an eye on the growth progress and make sure the water is clean and free from any microbial growth.
Once the roots have developed and reached a substantial length, you can choose to transition the amaryllis bulb to a pot with soil. Gently remove the bulb from the glass container, being careful not to damage the delicate roots, and plant it in a well-draining potting mix. Continue to care for the plant as you would a regular amaryllis.
Propagation in glass allows you to observe the growth of the roots and the fascinating development of the amaryllis bulb. It can be an enjoyable and educational experience. Remember to be patient, as the propagation process can take several weeks to months before the bulb produces blooms.
Overwintering amaryllis: optimal health during the dormant season
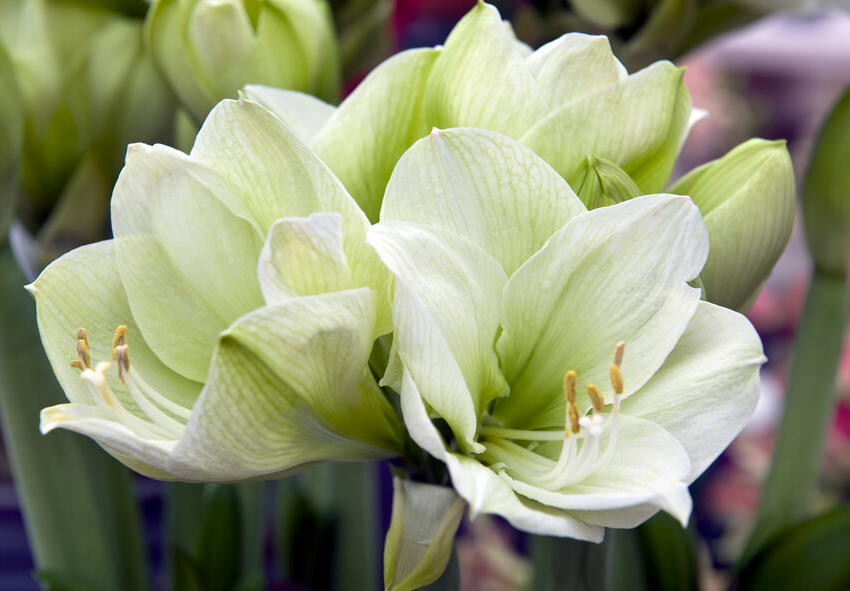
Overwintering amaryllis refers to the process of providing care for amaryllis bulbs during the winter months, typically to encourage them to bloom again in subsequent years. Amaryllis plants are known for their large, showy flowers and are popular as indoor and outdoor plants.
After the amaryllis has finished blooming, allow the flower stalk to wither naturally. Cut it back to about an inch above the bulb. Leave the leaves intact, as they will continue to provide nourishment to the bulb. Select a glass container that is tall enough to accommodate the bulb and allows for some root growth. The container should have drainage holes at the bottom or be shallow enough that you can monitor and control the moisture levels effectively. Place a layer of pebbles or small rocks at the bottom of the glass container. This will help with drainage and prevent the bulb from sitting in excess water.
Set the amaryllis bulb on top of the pebbles, ensuring that the base of the bulb is in contact with the pebbles but not submerged in water. Pour water into the container, being careful not to cover the base of the bulb. The water level should be just below the bulb, allowing the roots to grow down into the water while keeping the bulb dry.
Find a cool spot with indirect sunlight for your glass container. A temperature range of around 50-60°F (10-15°C) is ideal for amaryllis during their dormancy period. A bright room or near a window with filtered light is suitable. Check the water levels regularly and replenish as needed to maintain the appropriate level just below the bulb. Avoid overwatering, as excess moisture can cause the bulb to rot.
You need to keep the amaryllis in this cool, dry environment for about 8-12 weeks to encourage dormancy. During this time, the bulb will rest and prepare for its next growing cycle.
Flowering time: finding the perfect time for flowering splendor
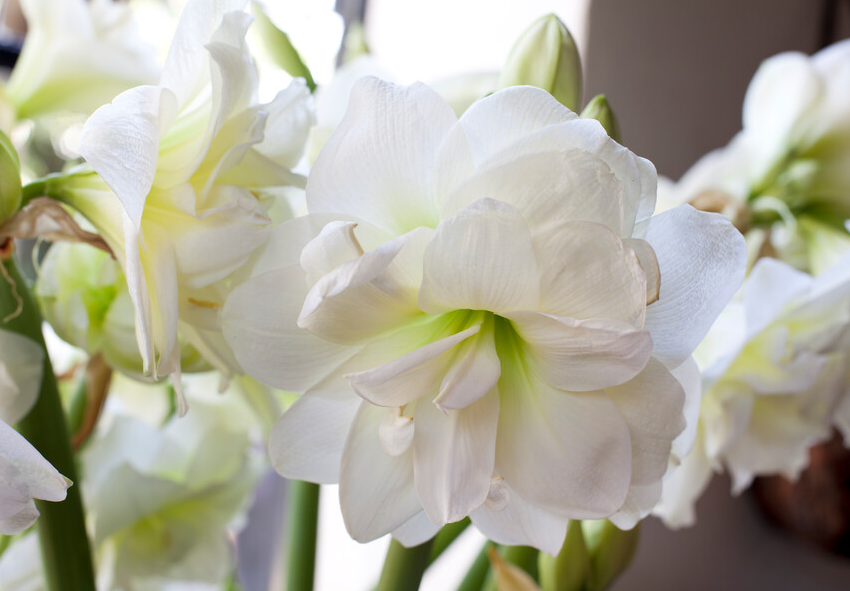
The flowering time of an amaryllis in a glass can vary depending on several factors, including the specific variety of amaryllis, growing conditions, and care provided.
Generally, amaryllis bulbs take around 6 to 8 weeks to bloom from the time they are planted. When grown in a glass, the process may take a bit longer due to the bulb needing to establish roots in water or other growing medium. It’s important to note that amaryllis bulbs require a period of dormancy before they can bloom again, so the flowering time will vary for subsequent blooming cycles.
Essential tools: what you need for successful amaryllis care
To successfully care for an amaryllis, you’ll need a few essential tools and supplies. Here’s a list of what you’ll need:
- Well-draining potting mix: Use a high-quality potting mix that provides good drainage. A mix specifically formulated for bulbs or houseplants will work well. Avoid heavy soils that retain too much moisture.
- Watering can or spray bottle: Amaryllis bulbs require regular watering, but it’s important not to overwater them. A watering can with a narrow spout or a spray bottle can help you control the amount of water you give to the plant.
- Fertilizer: A balanced, water-soluble fertilizer formulated for flowering plants will help provide the necessary nutrients for healthy growth. Follow the package instructions for application rates and frequency.
- Support stake: Amaryllis plants often produce tall, top-heavy flower stalks that can benefit from support. Use a bamboo stake or decorative plant support to keep the stalk upright and prevent it from bending or breaking.
- Pruning shears or scissors: Amaryllis plants may require occasional pruning to remove dead or damaged foliage. Use a clean pair of pruning shears or scissors to make clean cuts without crushing the plant tissue.
These tools, along with proper care and attention, will help you ensure successful growth and beautiful blooms for your amaryllis plant.
Choosing the right soil: considerations for optimal growth
When selecting soil for optimal growth of amaryllis in a glass container, there are a few key considerations to keep in mind. Amaryllis generally prefer well-draining soil that allows excess water to flow away from the roots. Choose a well-draining soil mix to prevent waterlogging, which can lead to root rot. A mixture of peat moss, perlite, and coarse sand or vermiculite works well. This combination helps improve drainage while retaining some moisture.
Amaryllis benefit from a nutrient-rich soil to support their growth and flowering. You can add compost or well-rotted organic matter, such as leaf mold or aged manure, to the soil mix before planting. This provides essential nutrients and improves the overall fertility of the soil. Amaryllis prefer slightly acidic to neutral soil with a pH range between 6.0 and 7.0. You can test the pH level of your soil using a soil pH testing kit available at gardening centers. Adjust the pH level if necessary using amendments like lime to raise it or sulfur to lower it.
It’s important to ensure that the soil used for amaryllis in a glass container is sterile to minimize the risk of disease or pests. You can sterilize the soil by baking it in the oven at 180°F (82°C) for about 30 minutes. Alternatively, you can use commercially available sterile potting mixes.
Fertilizing amaryllis: best practices for a nutrient boost
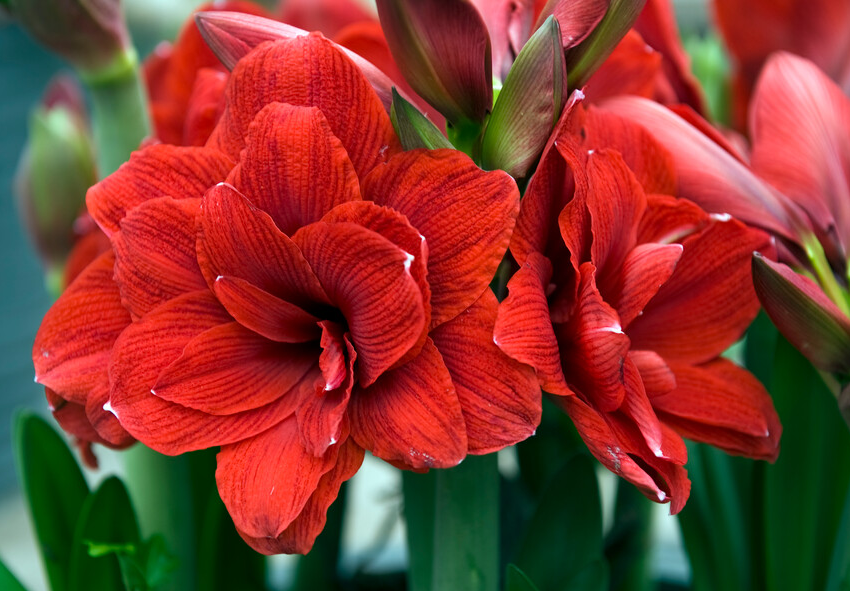
Fertilizing amaryllis grown in glass is similar to fertilizing amaryllis grown in other containers or in the ground. Amaryllis plants benefit from a fertilizer that provides equal amounts of nitrogen (N), phosphorus (P), and potassium (K). Look for a balanced fertilizer with an N-P-K ratio such as 10-10-10 or 20-20-20. Follow the instructions on the fertilizer packaging for the recommended dilution rate. Usually, you’ll need to mix the fertilizer with water before applying it to the plant. Be sure to use the appropriate amount of fertilizer for the volume of water specified.
Amaryllis typically go through a growth cycle where they produce leaves and then flowers. Fertilize the plant during the active growth phase, which is usually from spring to summer. Avoid fertilizing during the dormant phase, which is typically in fall and winter. If your amaryllis is grown in a glass vase with soil, you can apply the diluted fertilizer directly to the soil around the plant. If the plant is grown in water without soil, you can add the diluted fertilizer directly to the water. In this case, make sure not to exceed the recommended concentration to avoid damaging the plant.
Amaryllis plants benefit from regular, consistent fertilization. Depending on the specific fertilizer you’re using, you may need to fertilize every 2-4 weeks during the active growth phase. Read the instructions on the fertilizer packaging for the recommended frequency.
Keep an eye on your amaryllis to observe how it responds to the fertilizer. If the leaves become dark green and lush, and the plant grows well, you’re likely providing the right amount of fertilizer. However, if the leaves start turning yellow or the plant appears unhealthy, reduce the frequency or concentration of fertilizer.
Remember that over-fertilizing can be detrimental to the plant, so it’s important to follow the instructions and not exceed the recommended amounts. Additionally, regular watering and providing adequate light are also important for the overall health and growth of your amaryllis plant.
Where to buy amaryllis in glass: Trusted sources for high-quality plants
Other online flower and plant retailers often offer a wide selection of amaryllis bulbs or kits that come with a glass vase. You can search for “amaryllis in glass” or “amaryllis bulb kit” on these platforms to find available options.
Local garden centers or nurseries may have amaryllis bulbs or potted amaryllis plants that come with glass containers. Visit or contact your nearby garden centers to inquire about their availability.
Some florists offer amaryllis arrangements in glass vases. Check with local florists to see if they have any arrangements that include amaryllis in glass containers. Stores that specialize in home decor and gift items may carry amaryllis bulbs or kits packaged with glass containers.
Specialty plant shops or boutique plant stores may have unique and curated offerings that include amaryllis in glass. Explore local plant shops in your area that focus on indoor plants or unusual varieties.
Frequently Asked Questions (FAQs) about Amaryllis in a Glass
1. How do I care for an amaryllis in a glass jar?
Answer: Place the jar in a sunny spot, but avoid direct sunlight as this can lead to excessive algae growth. Make sure that the water is always kept at a constant level so that the roots do not dry out. Change the water about every fortnight to ensure fresh air and nutrients.
2. Can I plant my amaryllis in the ground after flowering?
Answer: Yes, you can plant your amaryllis in normal potting soil after flowering to continue caring for it. Place the bulb about halfway into the soil and water it regularly. It will flower again next year.
3. Do I have to cut my amaryllis into a glass?
Yes, it is advisable to cut the amaryllis into a glass as soon as the flowers have faded. Cut the flower stalk about 2.5 cm above the bulb to rest the plant and save resources for root growth.
4. Are there any special care instructions for amaryllis in a jar in winter?
Answer: In winter, make sure the amaryllis is in a warm room and protected from draughts. Keep the water at a comfortable room temperature to encourage growth during the cold months.
5. Can I grow several Holland Amaryllis bulbs in one jar?
Yes, you can grow several amaryllis bulbs in one large jar or in different jars. Make sure that each bulb has enough space and water.
Published: 12.07.2023
