Dutch Irises are a striking addition to any garden, known for their elegant blooms and vibrant colors. These hardy plants bring beautiful hues in spring and early summer, making them popular among gardeners. However, to grow healthy Dutch Irises that bloom to their full potential, it’s essential to understand their specific planting and care needs.
This guide provides a complete overview of how to cultivate Dutch Irises successfully. From selecting the best bulbs to planting techniques and seasonal care tips, you’ll learn everything necessary to grow vibrant, thriving Dutch Irises. Our gardening blog is a perfect place to find all the information you need!
Understanding Dutch Irises
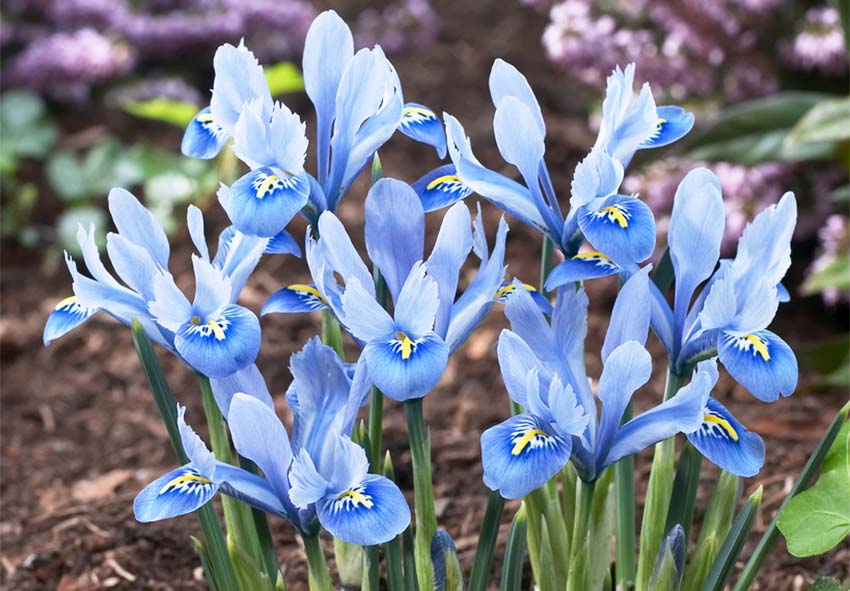
Dutch Irises are a result of careful hybridization, created to withstand various climates and offer diverse colors. Originally cultivated in the Netherlands, these irises quickly gained popularity due to their adaptability and stunning appearance. Today, gardeners worldwide enjoy the beauty of Dutch Irises in landscapes and flower arrangements alike.
History and Origin
Dutch Irises were developed in the early 20th century, bred to combine the hardiness of wild irises with the aesthetic appeal of ornamental varieties. Dutch growers focused on creating bulbs that could be easily planted and maintained. The resulting varieties became a favorite among gardeners, known for their resilience and colorful spring blooms.
Types of Dutch Irises
Dutch Irises belong to a broader family of irises, each with unique characteristics. Some notable types include:
| Plant Name | Flowering Period | Color | Preferred Climate | Sunlight Exposure |
| Dutch Iris ‘Blue’ | Mid-Spring to Early Summer | Blue with white center | Temperate, cool climates | Full sun |
| Dutch Iris ‘Purple’ | Mid-Spring to Early Summer | Purple with yellow center | Temperate, cool climates | Full sun to partial shade |
| Dutch Iris ‘Yellow’ | Early to Mid-Spring | Bright yellow | Temperate, warm climates | Full sun |
| Dutch Iris ‘White’ | Mid-Spring | Pure white | Temperate, cool climates | Full sun |
| Dutch Iris ‘Sunny’ | Late Spring to Early Summer | Yellow with blue tips | Warm to temperate climates | Full sun |
Each type has its own blooming period and care requirements, allowing you to select the best variety for your garden’s needs.
Planting Dutch Irises
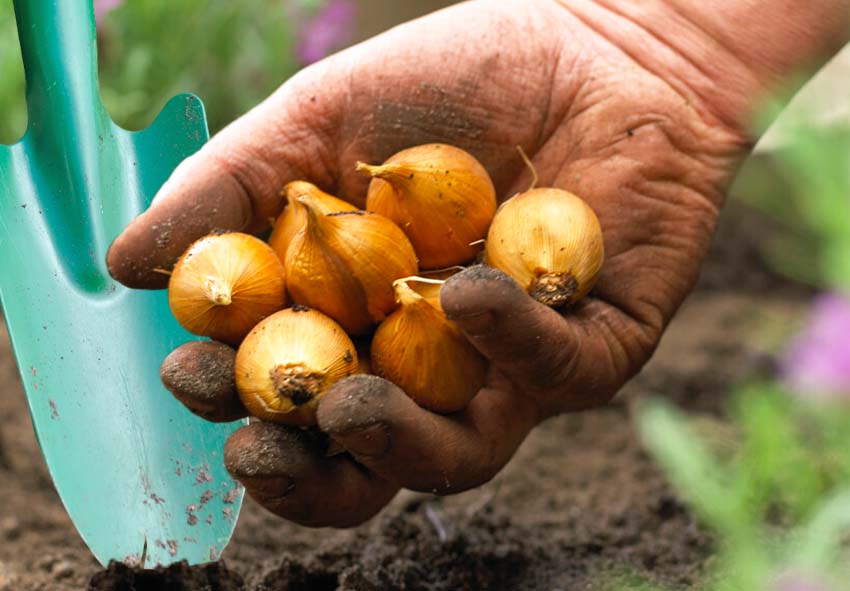
Planting Dutch Irises at the right time and in the proper conditions is key to a successful blooming season. These bulbs thrive when planted in well-drained soil with full sun exposure. Follow these planting tips to give your Dutch Irises the best possible start.
Selecting the Right Bulbs
Choosing high-quality bulbs is essential for successful growth and vibrant blooms. When selecting bulbs, look for those that are firm, dry, and free from any visible blemishes, mold, or soft spots. Healthy bulbs are generally smooth and uniformly sized, which indicates they have stored the necessary nutrients for growth. Avoid any bulbs with discoloration or unusual texture, as these may indicate underlying disease. Choosing robust, disease-free bulbs will support healthy root development and reduce the chance of rot after planting.
Best Planting Time
Timing is crucial for planting Dutch Irises to ensure they establish strong roots before active growth begins. In most climates, plant Dutch Irises in the fall, approximately six to eight weeks before the first expected frost. This allows the bulbs enough time to develop roots in cool soil before winter dormancy. In regions with milder winters, you can plant them slightly later, even into early winter, while cooler climates may benefit from slightly earlier planting in early fall. Fall planting encourages healthy root establishment, which leads to a robust blooming season in spring.
Planting Depth and Spacing
Proper depth and spacing are critical for Dutch Irises, as they help protect bulbs from harsh winter temperatures and prevent overcrowding. Plant bulbs with the pointed end facing upward, approximately four to six inches deep in the soil. This depth shields the bulbs from temperature extremes, while maintaining stability as they grow.
Space the bulbs around four inches apart to allow airflow between plants, which helps prevent fungal infections. Sufficient spacing also ensures each bulb has enough room to grow without competition, resulting in fuller, healthier blooms when the season arrives.
Care Instructions for Dutch Irises
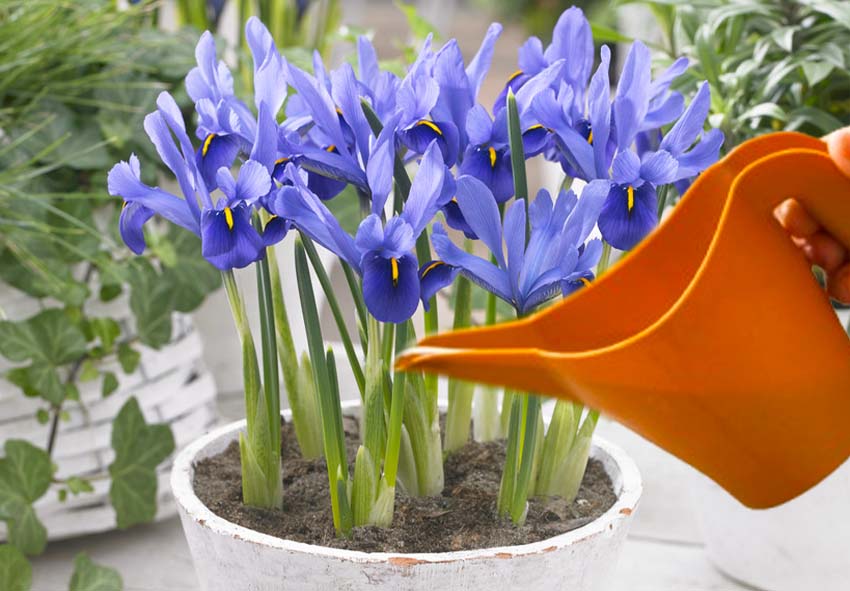
Once planted, Dutch Irises benefit from specific care practices to maintain their health and encourage prolific blooming. Understanding their water, fertilization, and maintenance needs will help you grow vibrant and resilient plants.
Watering Needs
During the initial stages of growth, Dutch Irises need regular watering to establish their root systems. Water sparingly but consistently, aiming for slightly moist soil rather than overly saturated. During the bloom season, reduce watering slightly, especially in regions with high rainfall, to prevent root rot. Good drainage is crucial to avoid waterlogging.
Fertilizing Dutch Irises
Dutch Irises benefit from a balanced, slow-release fertilizer in the early spring as growth begins. Fertilize again in the fall to support root strength over the winter. Use a bulb-specific fertilizer or a balanced 10-10-10 formula to promote healthy leaves and flowers, avoiding high nitrogen fertilizers, which can lead to excessive foliage at the expense of blooms.
Pruning and Deadheading
Deadheading, or removing spent flowers, encourages Dutch Irises to focus energy on root development rather than seed production. Here’s a list of five key points for pruning and deadheading Dutch Irises:
- Remove Spent Blooms: As flowers fade, snip them off at the base of the flower stem. This prevents the plant from using energy to produce seeds, redirecting nutrients to bulb growth instead.
- Cut Back Flower Stalks: After all the blooms on a stalk have faded, cut the entire stalk down to the base of the plant. This helps tidy the plant and encourages more focused energy for next year’s growth.
- Leave Green Foliage: Allow the leaves to remain until they naturally turn yellow or brown, as they continue photosynthesis and feed the bulb for the next growing season.
- Clean Up Fallen Leaves: Remove any leaves that fall to the ground around the plant to reduce the risk of fungal diseases and pests, keeping the area clean and healthy.
- Use Sharp, Clean Tools: Always use sanitized, sharp pruning shears when deadheading or pruning to prevent damage to the plant and avoid spreading disease.
Common Problems and Solutions
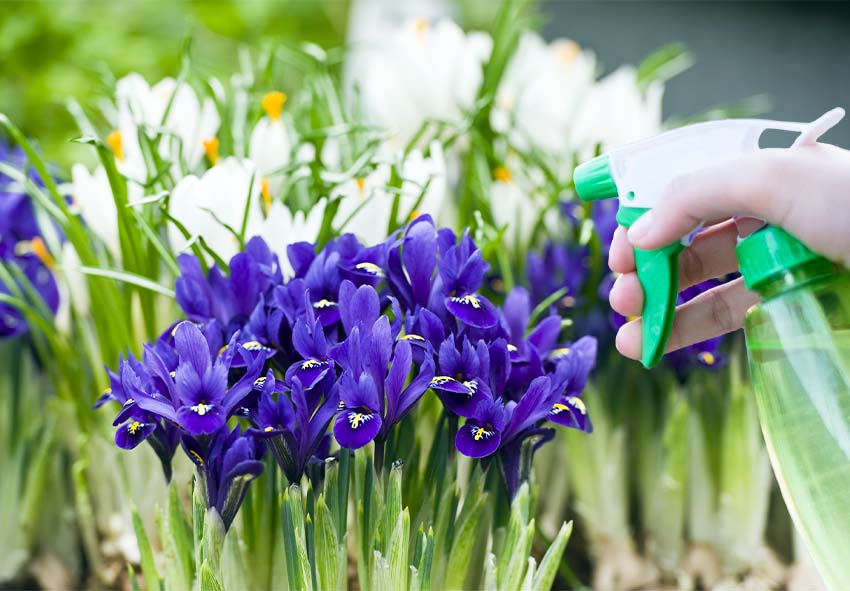
While Dutch Irises are relatively low-maintenance, they may encounter some challenges. Here, we address common issues related to pests, diseases, and bloom performance to help keep your Dutch Irises healthy and thriving.
Pests and Diseases
Dutch Irises can be affected by common garden pests and diseases, though they’re generally hardy. Common pests include aphids and thrips, which can damage leaves and flowers, often resulting in a weakened plant. Aphids are small, soft-bodied insects that cluster on stems and leaves, while thrips are tiny, slender insects that puncture plant tissue and feed on sap, often causing silvery or mottled discoloration. Routine inspection is key—catching these pests early can make treatment easier. Insecticidal soaps, neem oil, or horticultural oils work well as safe treatments against these pests without harming beneficial insects.
Diseases like bulb rot and fungal infections may also affect Dutch Irises, especially if they’re planted in areas with poor drainage. Bulb rot is often caused by waterlogged soil, leading to soft, mushy bulbs that can’t produce healthy plants. Fungal diseases like leaf spot or rust can weaken the plants, causing leaves to wilt or discolor. Preventing these diseases is best done by planting irises in well-drained soil and spacing bulbs properly to allow air circulation. Avoid overhead watering, as wet foliage can create a favorable environment for fungal growth. If disease does appear, remove and dispose of affected plant parts promptly to prevent spread.
Troubleshooting Bloom Issues
If your Dutch Irises aren’t blooming as expected, several factors could be at play. Insufficient sunlight is one common reason, as irises need full sun to produce vibrant blooms. Ensure that irises receive at least six hours of sunlight daily, which will help them develop strong stems and vibrant flowers. Improper watering is another factor; while Dutch Irises are fairly drought-tolerant once established, they do need consistent moisture during the growing season. However, avoid overwatering, as excess moisture can lead to bulb rot.
Overcrowding of bulbs can also hinder blooming, as bulbs compete for nutrients and space. If your Dutch Irises haven’t been divided in several years, they may benefit from division, which gives each bulb adequate room to grow and bloom fully. Fertilizing can also help enhance blooms—using a balanced fertilizer in spring can encourage flower development, but be careful not to over-fertilize, as this may lead to excess foliage rather than flowers.
Maximizing the Blooming Season
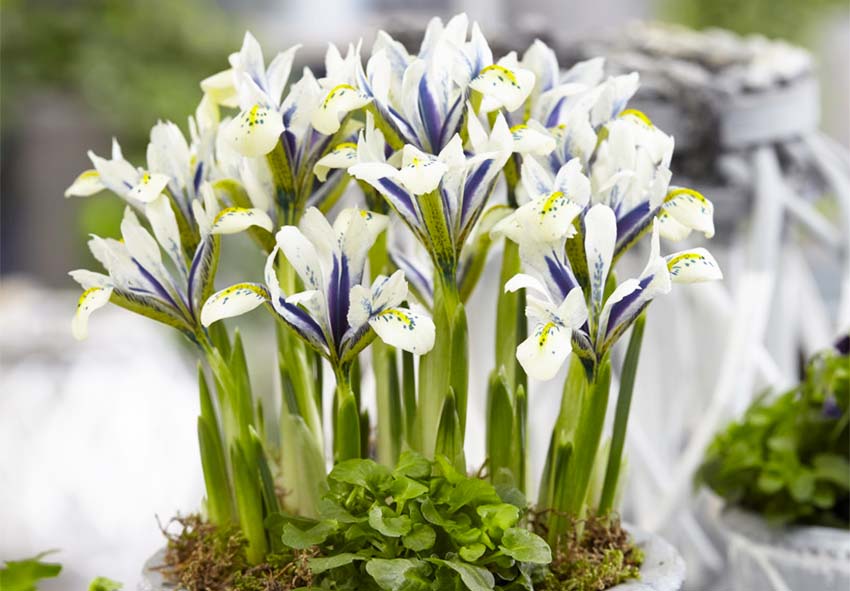
Creating the right environment can make a big difference in the quality and longevity of Dutch Iris blooms. Key aspects like soil quality, sunlight, and plant spacing contribute to successful growth and vibrant flowers.
Soil Preparation
For Dutch Irises to thrive, well-drained, fertile soil is essential. These irises are sensitive to standing water, which can lead to bulb rot and fungal issues. If your soil is heavy or clay-like, consider amending it with organic matter, such as compost or aged manure, to improve drainage and fertility. Organic amendments can also boost soil structure, helping roots establish and develop more robust plants. Aim for soil with a slightly acidic to neutral pH between 6.0 and 7.0, as Dutch Irises prefer this range for optimal nutrient uptake.
Sunlight Requirements
Dutch Irises thrive in sunny conditions, and providing the right amount of sunlight is key to achieving their stunning blooms. Sunlight not only fuels their growth but also ensures that they develop strong stems and vibrant flowers. Understanding how much sun they need and where to position them in your garden can make all the difference in their performance. Here’s what you need to know about sunlight requirements for Dutch Irises to help them flourish:
- Full Sun Exposure: Dutch Irises require at least six hours of direct sunlight each day for vibrant blooms.
- Encourage Strong Flowering: Sufficient sunlight promotes strong, healthy flowering and prevents the plants from becoming leggy.
- Light Afternoon Shade: In hot climates, providing some afternoon shade can help protect the plants from excessive heat, but morning sunlight is still essential.
- Open Spaces: Plant Dutch Irises in open areas with few obstructions to ensure they receive ample sunlight for optimal growth.
- Avoid Overcrowding: Ensure that surrounding plants or structures don’t block sunlight, allowing the irises to soak up all the light they need for robust growth.
Dividing and Propagating
To keep Dutch Irises healthy and vigorous, dividing mature plants every 3–4 years is beneficial. Over time, irises can become crowded, which reduces air circulation and nutrient availability, leading to smaller, fewer blooms. Dividing them rejuvenates the plants and encourages fresh growth. The best time to divide Dutch Irises is in late summer or early fall, after blooming has finished.
To divide, carefully dig up the clump of irises, gently separate the bulbs, and replant them at the recommended depth and spacing. This process not only increases your garden’s coverage but also helps maintain the vitality and bloom quality of your Dutch Irises year after year.
Designing with Dutch Irises
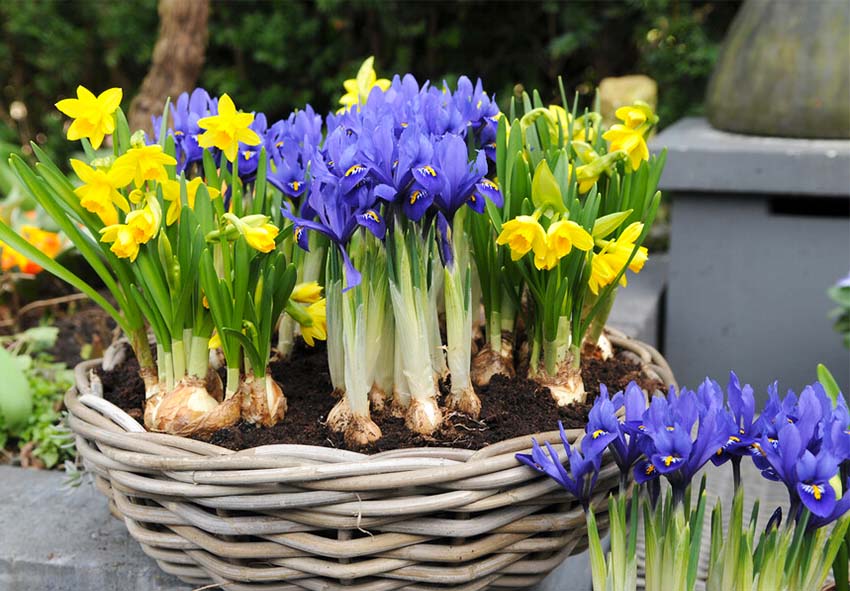
Dutch Irises bring unique beauty and elegance to gardens, making them versatile additions to various garden styles. Their vibrant colors and distinctively shaped blooms allow for many creative design applications, whether used as focal points, in mixed borders, or as part of naturalized meadow gardens. Dutch Irises’ tall, slender stems and richly colored flowers—often in shades of blue, purple, white, and yellow—add vertical interest and bold accents, enhancing the overall aesthetic of garden spaces.
Garden Layout Ideas
Designing a layout with Dutch Irises starts with considering their height and bloom time. They are excellent for creating layered borders, where their height works well at the middle or back of a flower bed, drawing attention without overshadowing shorter plants. In a perennial border, combine Dutch Irises with early-blooming spring bulbs such as daffodils or tulips to ensure color continuity as different plants come into bloom. They also make beautiful additions to walkways and paths, where their slender stalks and colorful flowers can line the edges, adding structure and elegance.
Dutch Irises are also perfect in groupings or clusters for mass planting in open spaces, where their bold colors and tall blooms create stunning visual impact. When planted in clusters of five to ten bulbs, they create a cohesive and eye-catching display. Mixing them with ornamental grasses can add softness and movement to the garden, as the grasses sway in the wind and provide a natural backdrop to the irises’ bold blooms.
Using Dutch Irises in Cut Flower Arrangements
Dutch Irises also make excellent cut flowers, adding elegance and vivid color to indoor arrangements. Their sturdy stems and large blooms are well-suited to floral displays, lasting up to a week when cut at their peak. To enjoy Dutch Irises as cut flowers, plant them in an accessible location where they can be easily harvested. Combine them in vases with other spring blooms like daffodils and tulips, or pair them with softer flowers like ranunculus for a balanced arrangement. With their stunning colors and unique form. Dutch Irises in garden design bring beauty to any outdoor space.
Companion Planting
Planting Dutch Irises alongside other compatible perennials creates a balanced ecosystem and enhances visual appeal. Suitable companions include plants that enjoy similar growing conditions and won’t overshadow irises.
Best Companion Plants:
- Peonies: Bloom around the same time and add a contrasting flower shape.
- Alliums: Add height and attract pollinators, benefiting the garden ecosystem.
- Lavender: Offers a harmonious color palette and helps repel pests.
There are a number of benefits of companion plants. First of all, improved pest control when paired with natural repellents like lavender. Besides, enhanced soil health from complementary plants with different nutrient needs and also a visually balanced garden with diverse flower shapes and colors.
Conclusion
Dutch Irises bring beauty and sophistication to any garden, rewarding careful planting and year-round care with stunning spring blooms. This guide covered essential tips on choosing quality bulbs, planting and care techniques, and troubleshooting common issues to help you grow healthy and vibrant irises.
Adding Dutch Irises to your garden is a great way to enjoy reliable, long-lasting blooms year after year. Visit our online store at Dutch-bulbs.com to explore premium Dutch Iris bulbs and essential garden care products for a successful growing season. Embrace the beauty of these elegant flowers and enjoy a stunning display each spring!
Frequently Asked Questions (FAQs) about Dutch Irises
1. What is the best time to plant Dutch Irises?
The ideal time to plant Dutch Irises is in the fall, around six to eight weeks before the first frost. This allows the bulbs time to establish roots. In warmer climates, they can be planted into early winter, while cooler regions should aim for earlier planting to avoid frost damage.
2. How do I care for Dutch Irises after planting?
After planting, Dutch Irises require full sun for optimal growth and blooming. Water them moderately to keep the soil moist but not soggy. Fertilize in early spring with a balanced fertilizer to support strong growth and vibrant flowers. Be sure to remove dead flowers through deadheading to encourage further blooms.
3. Can Dutch Irises be grown in containers?
Yes, Dutch Irises can be grown in containers. Ensure that the pot has good drainage to prevent waterlogging, which can lead to bulb rot. Use well-draining soil and place the container in a location that receives full sun for at least six hours per day to encourage healthy blooming.
4. Can I order Dutch Irises from your online store?
Yes, you can! Our online store Dutch-bulbs.com offers a wide selection of Dutch Irises, including different varieties and colors. We take pride in providing top-quality plants that are carefully cultivated and shipped with care to ensure they reach you in perfect condition. Explore our collection and place your order for a delightful addition to your home or garden.
5. What are common pests or diseases that affect Dutch Irises?
Dutch Irises can be susceptible to aphids, thrips, and fungal infections like bulb rot. Regularly inspect your plants for pests, and treat with insecticidal soap if necessary. To prevent fungal issues, ensure well-draining soil and avoid overwatering. Proper spacing also improves airflow, reducing the risk of disease.
Published: 14.11.2024
