Tulips are a timeless favorite in gardens, known for their vibrant colors and elegant shapes. While planting tulip bulbs is an exciting first step, ensuring their success depends heavily on the care they receive after planting. Proper post-planting care not only guarantees stunning blooms in spring but also promotes the health and longevity of your tulip beds for years to come. Our gardening blog is a perfect place to find all the information you need!
Immediate Care After Planting

Once your tulip bulbs are in the ground, immediate aftercare is essential to help them establish roots before winter sets in. Proper attention during this phase sets the foundation for a successful growing season. Neglecting this stage can result in poor growth or even bulb failure, undermining your gardening efforts.
Watering Requirements
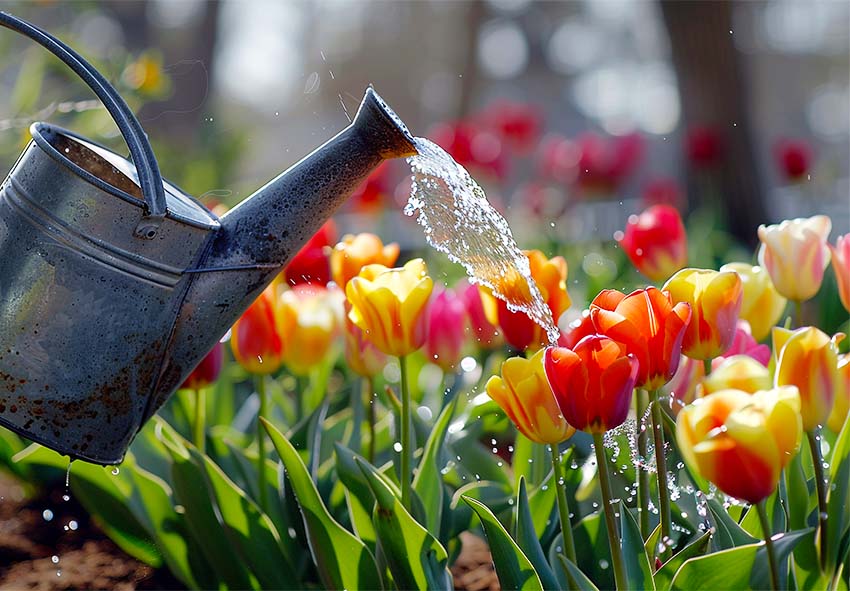
Watering is critical right after planting to settle the soil and eliminate air pockets around the bulbs. A thorough watering encourages the bulbs to begin root growth, which is vital for their winter survival. Keep the soil evenly moist but avoid waterlogging, which can cause rot. In areas with regular rainfall, additional watering may not be necessary. Consistent moisture during the first few weeks helps ensure the bulbs are ready to endure the cold months ahead.
Mulching for Protection
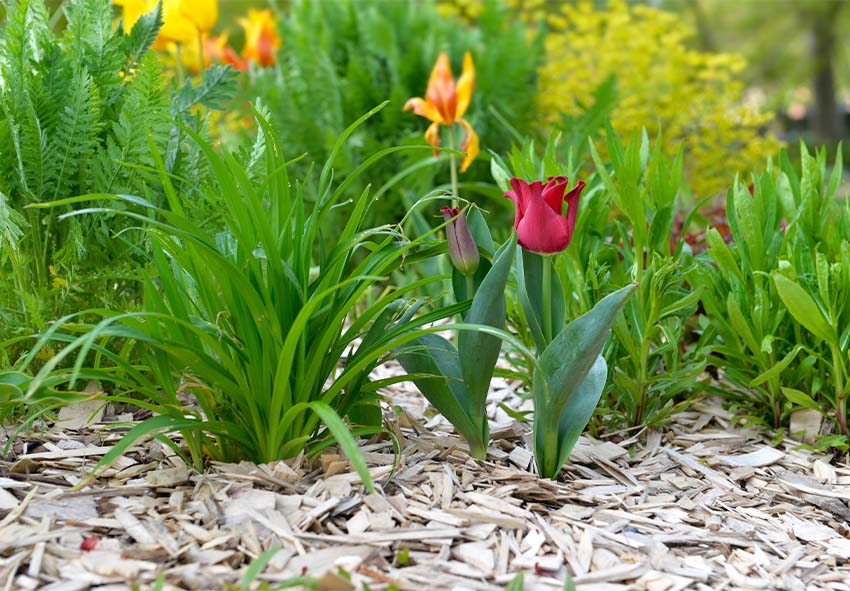
Applying a layer of mulch over your tulip beds helps regulate soil temperature and moisture levels. Mulch acts as an insulating blanket, protecting the bulbs from sudden temperature drops and frost. Organic materials like straw, shredded leaves, or bark mulch are excellent choices. Additionally, mulching suppresses weeds, reducing competition for nutrients. A well-mulched tulip bed not only looks tidy but also improves the overall health of the soil.
Winter Care for Tulips
Winter is a critical time for tulip bulbs, as they undergo a chilling period essential for spring blooming. Proper protection ensures that the bulbs remain healthy during the colder months. Without adequate care, bulbs may suffer from frost damage or become targets for pests, jeopardizing their growth.
Protecting Bulbs from Frost
By following these tips, you can effectively protect your tulip bulbs from frost and ensure they remain healthy through winter, ready to bloom beautifully in spring:
- Apply a Thick Layer of Mulch: Use 2–4 inches of organic mulch, such as straw, shredded leaves, or bark, to insulate the soil and protect bulbs from freezing temperatures. Mulch also prevents rapid temperature fluctuations that can cause frost heave.
- Check for Frost Heave Regularly: Inspect your tulip beds periodically during winter. If bulbs are pushed to the surface due to freezing and thawing cycles, gently replant them at the appropriate depth to avoid exposure.
- Use Frost Covers in Extreme Cold: In areas with severe winters, consider covering your tulip beds with frost blankets or burlap. These materials provide extra insulation without suffocating the soil, helping to safeguard bulbs from deep frost.
- Ensure Proper Soil Drainage: Waterlogged soil is more likely to freeze deeply, damaging bulbs. Improve drainage by adding coarse sand or grit if your soil tends to retain excess moisture.
- Plant Bulbs at the Right Depth: Planting tulip bulbs 3–4 inches deep provides natural insulation from frost. Shallow planting makes bulbs more susceptible to freezing and frost damage.
- Use Raised Beds for Extra Protection: If your area experiences consistent frost heave, consider planting tulips in raised beds. The elevated position helps regulate soil temperature and reduces exposure to freezing cycles.
Monitoring for Pests and Animals
Squirrels, voles, and other animals often see tulip bulbs as a winter feast. Protect your beds by placing a wire mesh or chicken wire over the soil, which deters digging. Additionally, consider using repellents or planting deterrent flowers like daffodils nearby to discourage pests. Keeping a close watch during winter months can prevent significant damage and ensure your tulips emerge unscathed in spring.
Early Spring Maintenance

As winter gives way to spring, tulip bulbs begin to emerge, signaling the start of their growing season. Early maintenance ensures healthy growth and beautiful blooms. Addressing potential issues promptly during this phase can make the difference between a mediocre display and a spectacular one. You can find more information about spring maintenance in our full guide about tulips.
Checking for Growth
Checking your plants for growth is an important part of care for tulips. By consistently monitoring and supporting tulip growth, you can address potential issues early and set the stage for a vibrant and healthy bloom:
- Monitor the Soil Surface: As spring approaches, regularly check your tulip bed for signs of green shoots breaking through the soil. These early signs indicate that your bulbs are healthy and growing as expected.
- Inspect for Uneven Growth: Look for areas where tulips may not be sprouting evenly. This could signal issues like compacted soil, poor drainage, or pest activity. Address these problems early to support consistent growth.
- Loosen the Soil if Necessary: If the soil appears compacted or crusted over, gently loosen it with a hand rake or cultivator. This helps emerging shoots break through the surface without damage.
- Clear Away Debris: Remove any mulch, leaves, or other debris that might block sunlight or hinder the emergence of shoots. Be careful not to disturb the bulbs while clearing the area.
- Check for Signs of Damage: Look for evidence of pests, frost damage, or disease on emerging shoots. Address these issues immediately to prevent further harm to your tulip bed.
- Ensure Adequate Sunlight: As growth begins, make sure the tulip bed receives ample sunlight. Clear any overhanging branches or obstructions that might cast shade on the area.
Watering in Spring
As tulips grow, adjust your watering practices to meet their needs. While the soil should remain moist, avoid overwatering, especially during periods of heavy spring rains. Proper drainage is crucial to prevent water from pooling around the bulbs, which can lead to rot. Gradually reduce watering once the blooms appear, as tulips generally prefer drier soil during this stage.
Post-Bloom Care for Tulips
Once tulips have finished blooming, how you care for them determines the health of the bulbs and their ability to bloom the following year. Effective post-bloom care helps conserve the plant’s energy and ensures vibrant flowers for seasons to come. Ignoring this stage can weaken the bulbs, reducing their performance in subsequent years.
Deadheading Spent Blooms
After tulips have faded, remove the spent flowers to prevent seed formation. This allows the plant to redirect energy toward the bulb, strengthening it for next season. Be careful not to cut the foliage, as it continues to photosynthesize and nourish the bulb. Deadheading also keeps your garden looking neat and tidy, maintaining its aesthetic appeal.
Fertilizing After Blooming
Fertilize your tulips after blooming to replenish the nutrients used during flowering. Use a balanced or low-nitrogen fertilizer to encourage bulb growth rather than leafy growth. Apply the fertilizer around the base of the plants, avoiding direct contact with the leaves to prevent burning. Proper fertilization at this stage helps the bulbs store enough energy for a robust return next spring.
Preparing for the Next Season

To maintain healthy tulip beds, it’s important to properly prepare the bulbs and soil for future planting cycles. Proper preparation helps preserve the health of the bulbs, ensuring they continue to thrive. Neglecting these steps may result in weak growth or poor blooming in the following season.
Cutting Back Foliage
Allow the tulip leaves to turn yellow and wither naturally before cutting them back. This process enables the bulb to absorb nutrients from the foliage, which is critical for next year’s growth. Once the leaves have completely dried, trim them back at the base with clean shears. Cutting too early can deprive the bulbs of energy, reducing their vigor and flowering capacity.
Storing Bulbs (If Needed)
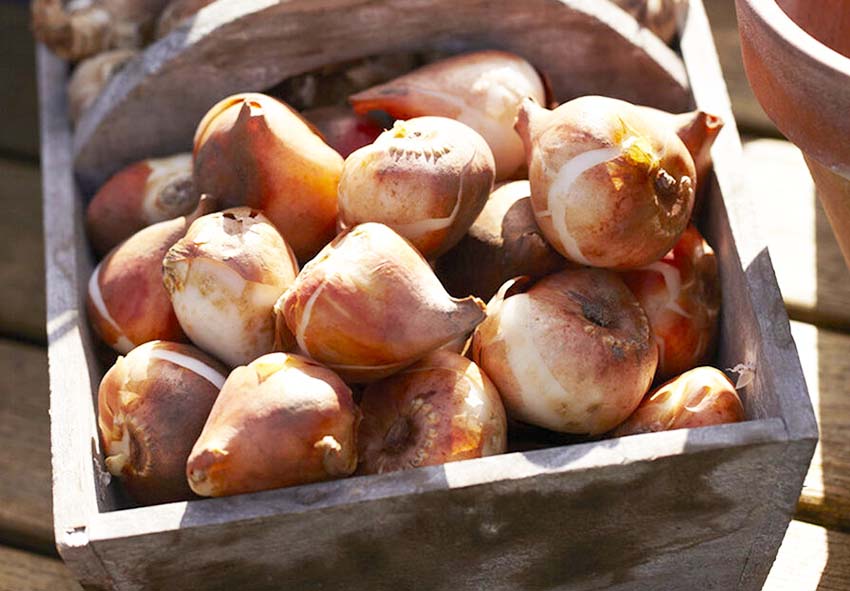
Proper storage conditions are key to preserving the bulbs’ health: By properly storing tulip bulbs, you can preserve their vitality, ensuring a successful bloom when it’s time to replant:
- Lift the Bulbs Carefully: After the foliage has completely yellowed and died back, use a garden fork or spade to gently lift the bulbs from the soil. Be careful not to cut or damage the bulbs during this process.
- Remove Excess Soil: Brush off loose soil from the bulbs, but avoid washing them with water. Damp bulbs can develop mold or rot during storage. Let them dry naturally in a well-ventilated area.
- Inspect and Sort: Check each bulb for signs of damage, disease, or rot. Discard any bulbs that are soft, moldy, or have visible damage to ensure healthy growth in the next season.
- Allow the Bulbs to Cure: Place the bulbs in a single layer in a cool, dry place for 1–2 weeks to cure. This step helps to harden the outer skin and prepare them for long-term storage.
- Store in a Breathable Container: Use mesh bags, paper bags, or cardboard boxes with ventilation holes for storage. Avoid plastic containers, as they trap moisture and can cause rot.
- Choose the Right Location: Store bulbs in a cool, dry, and dark place with temperatures between 35–50°F (1–10°C). A basement or unheated garage is ideal. Ensure the area is rodent-free to protect the bulbs.
- Label and Organize: If you have multiple tulip varieties, label each bag or container with the bulb type and color to simplify replanting next season.
Conclusion
Caring for tulips after planting is the key to a stunning spring display and a thriving garden year after year. From watering and mulching to winter protection and post-bloom maintenance, each step ensures the health and vitality of your tulips. By following these guidelines, you’ll enjoy vibrant blooms and the satisfaction of a well-maintained tulip bed.
Ready to grow your garden? Explore our online store for premium tulip bulbs and gardening supplies to help your tulips thrive.
Frequently Asked Questions (FAQs) about Care for Tulips
1. Do tulips need fertilizer, and when should I apply it?
Yes, tulips benefit from fertilization. Apply a balanced, slow-release bulb fertilizer when planting and again after blooming. Fertilizing post-bloom nourishes the bulbs for the next year’s growth. Avoid fertilizing once the foliage has completely died back, as the bulbs are no longer actively absorbing nutrients.
2. Can I order tulip bulbs from your online store?
Yes, you can order tulip bulbs from our online store Dutch-bulbs.com. We offer a wide selection of tulip varieties suitable for different climates and preferences. Our bulbs are carefully sourced and stored to ensure they are of the highest quality. Shopping online provides you with convenience and access to valuable information about each tulip variety.
3. How can I protect tulips from pests like squirrels and voles?
To protect tulips from pests, consider planting bulbs with a protective mesh or wire cage in the ground. Sprinkle cayenne pepper or other natural repellents on the soil surface. Additionally, plant deterrent bulbs like daffodils nearby, as their scent can discourage pests from targeting tulip beds.
4. Should I cut back tulip leaves after blooming?
Wait until the leaves turn completely yellow before cutting them back. The foliage helps photosynthesize and stores energy in the bulb for next year’s blooms. Premature cutting can weaken the bulb and affect future flowering. Once the leaves have naturally withered, trim them close to the soil.
5. What’s the best way to store tulip bulbs for replanting?
Lift bulbs after the foliage has yellowed and dried. Clean off excess soil, inspect for damage, and cure them in a cool, dry place for 1–2 weeks. Store the bulbs in breathable containers, such as mesh bags or cardboard boxes, in a dark location with temperatures between 35–50°F (1–10°C).
Published: 22.11.2024

Comments: 1
10.12.2024 at 12:05
Very helpful guide – I’ve always loved tulips but struggled to keep them healthy year-round. The tips on storing bulbs and ensuring proper care through each season are exactly what I was looking for. Thanks for making it so easy to understand!