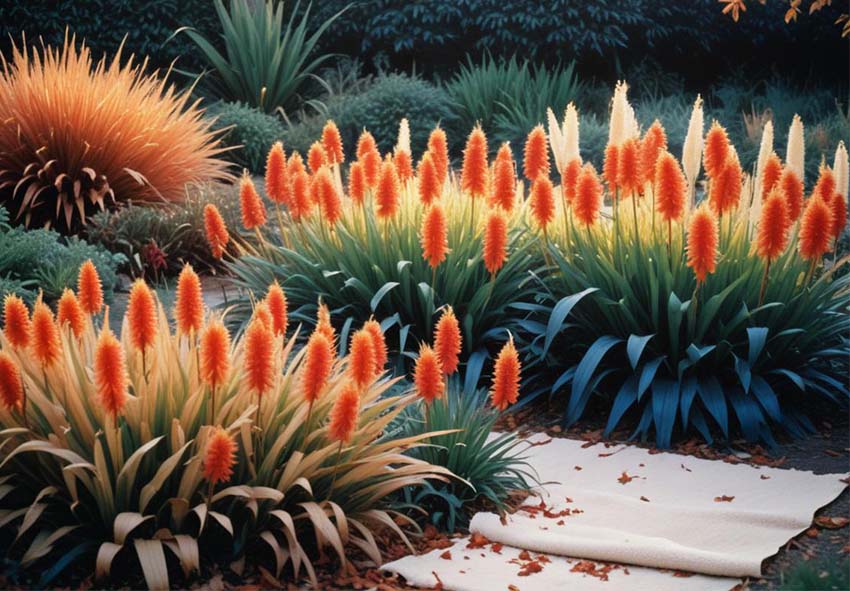
Kniphofia, commonly known as Torch Lilie, is a stunning perennial known for its tall, torch-like flower spikes in fiery shades of red, orange, and yellow. This eye-catching plant adds a dramatic touch to any garden landscape, attracting pollinators such as bees and butterflies. Knowing how to care for Kniphofia involves understanding its specific watering, pruning, fertilizing, and winter protection needs. This guide will walk you through the essential steps to keep your plants thriving, covering everything from watering techniques to seasonal maintenance. Our gardening blog is a perfect place to find all the information you need!
Watering Kniphofia
Proper watering is one of the most important aspects of caring for Kniphofia, particularly during its early growth stages. Understanding the watering needs of your plant ensures it develops strong roots and remains healthy throughout its life cycle.
Watering After Planting
After planting Kniphofia, it is crucial to establish a regular watering routine to help the roots settle into their new environment:
- Water Deeply After Planting: Ensure the soil is thoroughly soaked during the first few weeks after planting.
- Allow Soil to Dry Slightly Between Waterings: Let the soil dry a bit before watering again to avoid waterlogged conditions.
- Keep the Soil Moist, Not Soggy: Maintain a balanced moisture level to prevent root rot.
- Use the Finger Test to Check Moisture Levels: Insert your finger into the soil up to the second knuckle to see if it feels dry.
- Water When Soil Feels Dry: If the soil feels dry when you check, it’s time to water the plant.
- Encourage Deep Root Growth with Deep Watering: Water deeply to help roots grow downward, which strengthens the plant’s resilience.
Ongoing Watering Needs
Once Kniphofia is established, its watering requirements will change. While the plant becomes more drought-tolerant, it still benefits from consistent moisture, especially during dry spells or hot summer weather. Water the plant once a week, increasing the frequency during prolonged heatwaves. Avoid overhead watering, which can cause fungal issues on the foliage; instead, water at the base of the plant. Mulching can also help retain moisture in the soil, reducing the need for frequent watering.
Pruning and Deadheading Kniphofia

Regular pruning and deadheading help maintain the appearance of Kniphofia and encourage further blooming. These practices also reduce the risk of diseases by removing spent blooms and damaged foliage.
Deadheading Spent Blooms
Deadheading Kniphofia involves removing the faded flower spikes to direct the plant’s energy toward producing more blooms. Cut off the spent flower spikes just above the base of the foliage once the blooms start to fade. This practice not only keeps the plant looking neat but also stimulates additional flowering. Deadheading throughout the blooming season ensures a continuous display of vibrant flower spikes, making your garden more appealing.
End-of-Season Pruning
Pruning Kniphofia at the end of the growing season prepares the plant for winter dormancy:
- Wait Until Late Fall: Begin pruning in late fall, after the plant has finished blooming and the foliage starts to yellow or die back. This ensures that the plant has stored enough energy for the winter dormancy.
- Cut Back Spent Flower Stalks: Use sharp pruning shears to cut back the flower stalks at the base once they have faded and turned brown. Removing spent flower stalks helps direct the plant’s energy toward root development instead of seed production.
- Trim Dead or Damaged Leaves: Remove any dead, yellowing, or damaged leaves to prevent disease and pests from overwintering in the plant. Cut the leaves close to the base, being careful not to damage healthy foliage.
- Cut Foliage Down to 2-3 Inches Above the Ground: Once the foliage has completely died back, trim it down to about 2-3 inches above the ground. This helps tidy up the garden and prepares the plant for winter while leaving some foliage for natural protection.
- Add a Layer of Mulch Around the Base: After pruning, apply a layer of mulch around the base of the plant to insulate the roots and protect them from freezing temperatures. Keep the mulch a few inches away from the crown to prevent rot.
- Consider Leaving Some Foliage for Winter Interest: In milder climates, you can leave some foliage untrimmed for added winter garden texture. This can also help protect the plant if sudden frost occurs.
- Check for Pests and Diseases During Pruning: While pruning, inspect the plant for signs of pests or diseases and take appropriate action if needed. Early intervention can prevent problems from worsening during winter.
Fertilizing Kniphofia

Fertilizing Kniphofia helps the plant maintain robust growth and produce striking flower spikes. Choosing the right type of fertilizer and applying it correctly can significantly impact the plant’s health.
Choosing the Right Fertilizer
Kniphofia benefits from a well-balanced fertilizer that contains equal parts of nitrogen, phosphorus, and potassium (e.g., a 10-10-10 formula). Organic fertilizers, such as compost or well-rotted manure, are also excellent choices, as they improve soil structure while providing essential nutrients. Avoid high-nitrogen fertilizers, which can encourage excessive foliage growth at the expense of flowers.
When and How to Fertilize
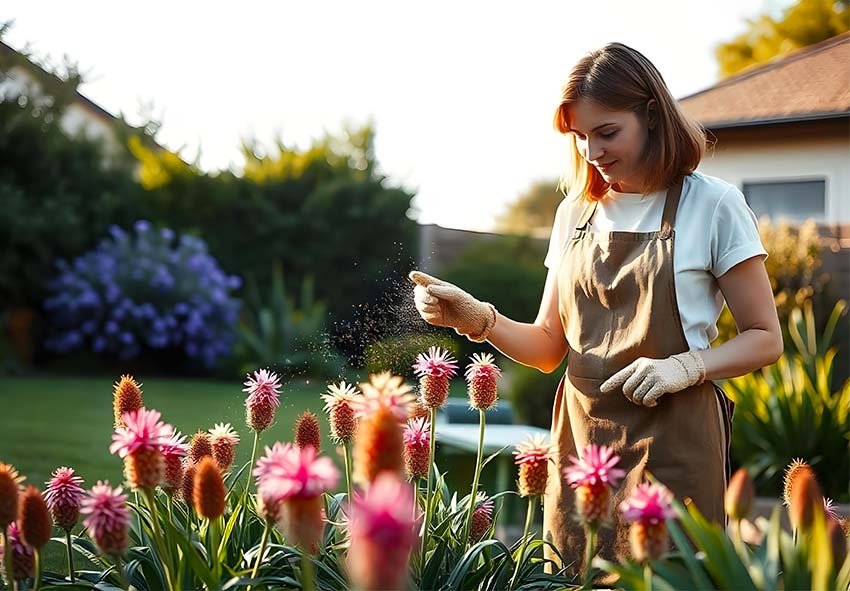
The best time to fertilize Kniphofia is in early spring, just as new growth begins to emerge. Following these steps can help ensure that Kniphofia gets the right nutrients at the right times for healthy growth and vibrant blooms:
- Fertilize in Early Spring: Apply fertilizer in early spring, just as new growth begins. This helps boost the plant’s energy and supports vigorous growth during the growing season.
- Use a Balanced, Slow-Release Fertilizer: Choose a well-balanced, slow-release fertilizer with equal amounts of nitrogen, phosphorus, and potassium (e.g., 10-10-10). Slow-release fertilizers provide nutrients steadily over time, reducing the risk of over-fertilizing.
- Apply Fertilizer After Watering: Fertilize when the soil is moist to help the plant absorb nutrients more effectively. Watering the plant before fertilizing prevents the roots from getting burned by the fertilizer.
- Repeat Fertilization Mid-Season if Needed: If the plant shows signs of poor growth or pale leaves during the growing season, apply a light dose of fertilizer mid-season. This can provide an extra nutrient boost for continued blooming.
- Avoid Over-Fertilizing to Prevent Excessive Leaf Growth: Too much fertilizer, especially high in nitrogen, can lead to lush foliage growth at the expense of blooms. Stick to recommended amounts to maintain a healthy balance between leaf and flower production.
- Incorporate Organic Matter or Compost: In addition to commercial fertilizers, mix in organic matter or compost to enrich the soil and improve its structure. This can enhance the plant’s nutrient uptake and promote long-term soil health.
- Adjust Fertilization Based on Soil Conditions: Perform a soil test to understand nutrient levels and adjust the fertilization plan accordingly. This helps provide the right nutrients without overfeeding.
Soil and Mulching
The quality of the soil and the use of mulch play significant roles in Kniphofia’s overall health. These elements influence the plant’s water retention, root development, and resistance to diseases.
Ensuring Well-Drained Soil
Kniphofia thrives in well-drained soil that prevents waterlogging and root rot. If your garden has heavy clay or poorly draining soil, consider amending it with organic materials like compost, sand, or fine gravel to improve drainage. Raised beds are also an effective solution for gardeners with compacted soil, allowing better control over soil conditions.
Using Mulch for Moisture Retention
Mulching around Kniphofia provides several benefits, including moisture retention, temperature regulation, and weed suppression. Use organic mulch such as shredded bark, straw, or compost, and apply a 2-3 inch layer around the plant. Keep the mulch a few inches away from the base to prevent rot and pests from attacking the crown. Mulch also helps to insulate the roots during winter.
Protecting Kniphofia in Winter

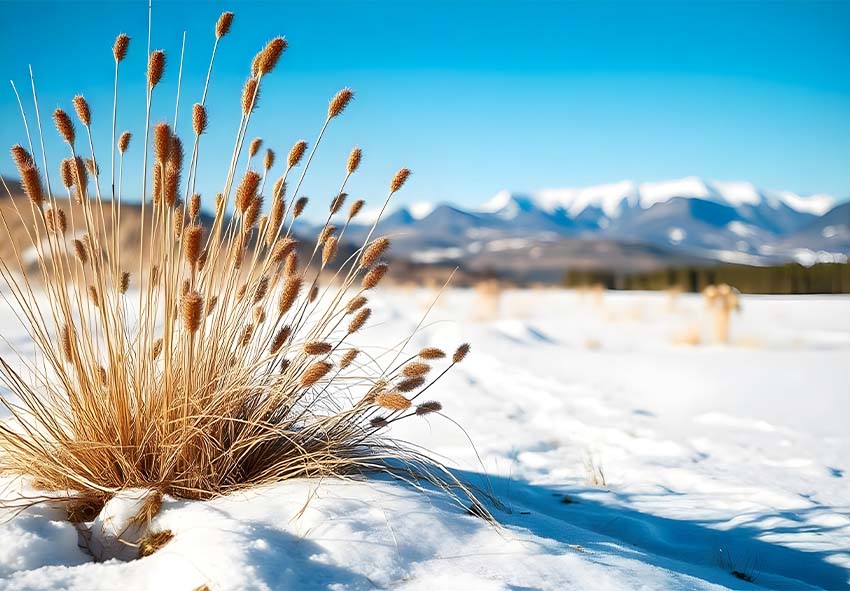
Winter protection is essential for Kniphofia, especially in colder regions where freezing temperatures can damage the plant. Taking preventive measures can help the plant survive the winter and emerge healthy in the spring. You can also transplant your flowers into a container for the cold season. Find more information about it in our full guide for Kniphofia.
Winter Care in Cold Climates
In regions with harsh winters, protecting Kniphofia from frost damage is vital. Follow these steps to avoid any damages during the cold season:
- Apply a Thick Layer of Mulch: Add a 3-4 inch layer of mulch, such as straw, leaves, or bark, around the base of the plant to insulate the roots. This helps protect the plant from freezing temperatures and temperature fluctuations during the winter.
- Cover the Plant with a Frost Blanket: In areas with extremely cold temperatures, consider using a frost blanket or burlap to cover the plant during severe cold spells. This provides an additional layer of protection against frost damage.
- Avoid Overwatering During Dormancy: Kniphofia needs less water during winter dormancy. Ensure the soil is well-drained to prevent waterlogging, as excessive moisture can cause root rot in cold weather.
Overwintering Kniphofia Indoors
For gardeners in extremely cold areas, potted Kniphofia can be brought indoors to overwinter. Move the pots to a cool, frost-free location, such as a garage or basement. Water sparingly, just enough to keep the soil from completely drying out. When spring arrives, gradually acclimate the plants to outdoor conditions before planting them back in the garden.
Conclusion
Kniphofia is a low-maintenance yet visually striking garden plant that rewards proper care with vibrant blooms and healthy growth. By following the steps outlined — regular watering, pruning, fertilizing, and winter protection — you can ensure that your Red Hot Poker thrives. Remember to take the time to care for your plants, and you’ll enjoy their fiery display year after year. Visit the online plant store to explore different Kniphofia varieties and gardening supplies.
Frequently Asked Questions (FAQs) about Care for Kniphofia
1. How often should I water Kniphofia after planting?
During the first few weeks, water Kniphofia deeply, allowing the soil to dry slightly between watering sessions. Keep the soil moist but not soggy to avoid root rot. Once established, reduce the frequency and water mainly during dry periods, as Kniphofia is drought-tolerant once mature.
2. When is the best time to prune Kniphofia?
Deadhead spent blooms throughout the growing season to encourage more flowers. For end-of-season pruning, trim back the foliage to about 2-3 inches above the ground in late fall. This prepares the plant for winter and reduces the risk of damage from frost and heavy snow.
3. What type of fertilizer should I use for Kniphofia?
Use a balanced, slow-release fertilizer or a fertilizer formulated for flowering perennials. Incorporating organic matter or compost into the soil also helps enhance fertility. Avoid over-fertilizing, as it can lead to excessive foliage growth at the expense of flowers.
4. How can I protect Kniphofia in cold climates?
To protect Kniphofia in cold climates, apply a 3-4 inch layer of mulch around the plant’s base in late fall to insulate the roots. Additionally, cover the plant with a frost blanket during severe cold spells. Avoid overwatering during winter to prevent root rot.
5. Can Kniphofia bulbs be ordered from your online store?
Our online store Dutch-bulbs.com offers a wide selection of Kniphofia bulbs in various colors, making it easy for you to add these elegant beauties to your garden. We source our bulbs from reputable growers to ensure you receive high-quality specimens. Simply browse our online catalog, select your preferred varieties, and follow the easy ordering process.
Published: 15.10.2024

